Feature sale class for April 2025
Was $75 now only $50
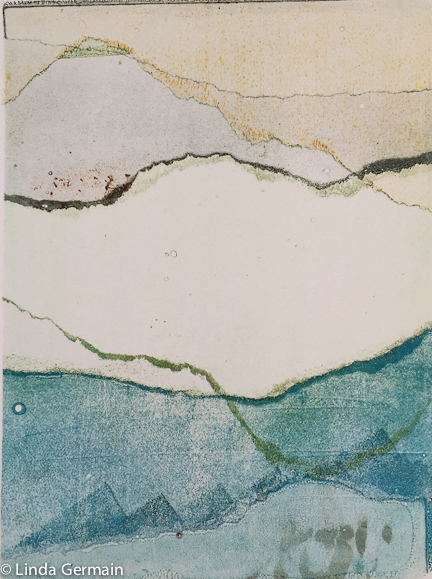
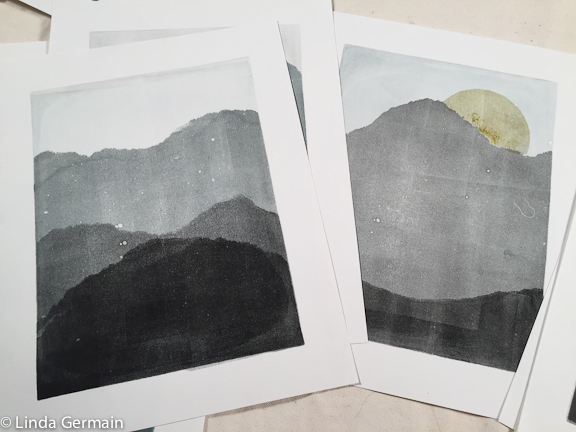
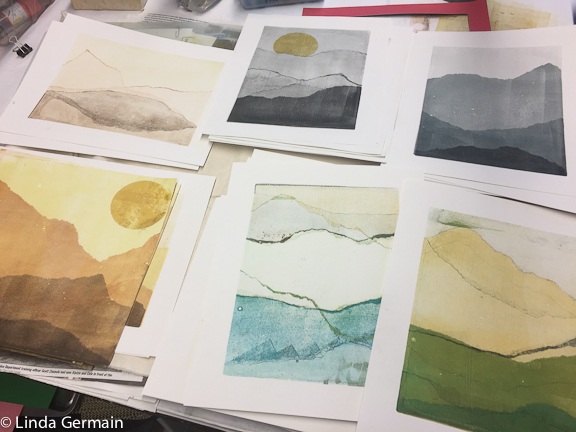
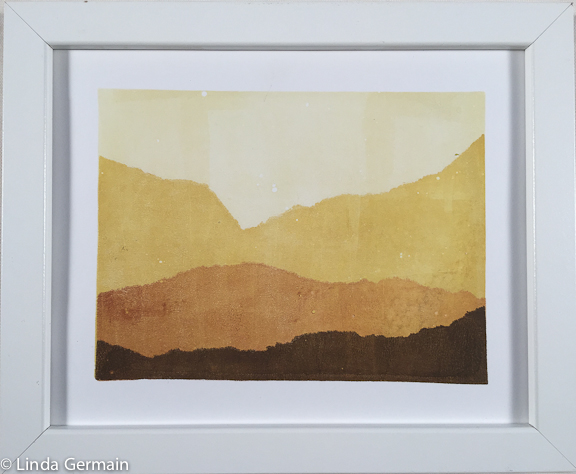
This is a focused gelatin printmaking workshop – about making monochromatic mountain scapes. These prints are often pleasing and peaceful.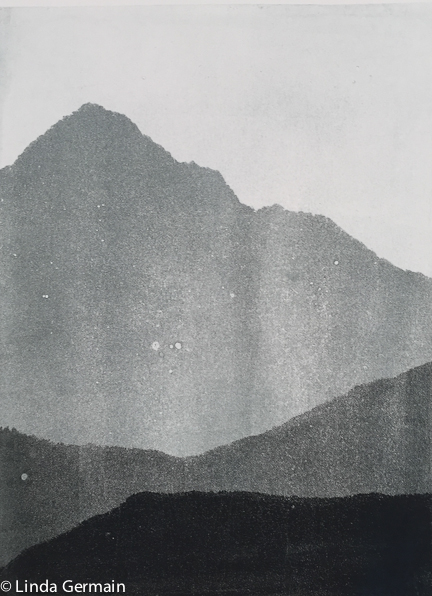
They appear to be quite simple. And yet the process has a lot to offer. To make a dynamic and successful print you need to consider several elements of design:
- Shape of the mountains
- Angle of the ridgeline
- Value scale of the shapes and
- Dynamic division of space
Feature sale class for April 2025
Was $75 now only $50
Register Now
Click Here to Pay $50
Join us Today
Practicing and developing these types of skills will carry over into all your other art making activities. With gelatin printmaking you can pull prints so quickly, that you learn just as quickly what is working and what you can change to make a more pleasing print.
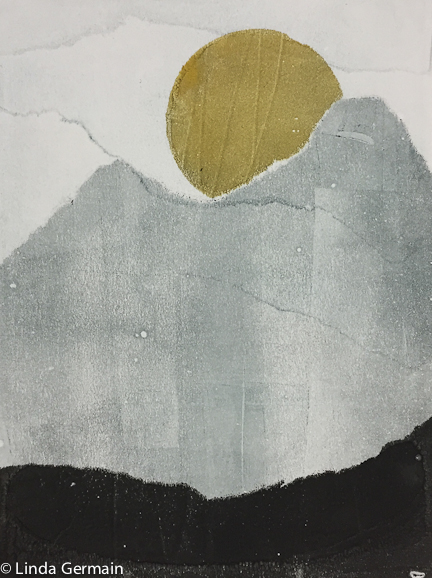 This workshop will address:
- creating value change for impact
- division of space to create interest
- use of torn stencils to imply elements of the landscape
You will learn how to:
- Print Monochromatic mountain scapes
- Create interest throughout division of space
- Create atmospheric perspective with value change
- Layer marks to create delicate monotypes
We will create most of the imagery with printed marks on the gelatin plate. Yet sometimes a landscape can be completed by adding just a bit of charcoal, paint, drawing or collage. These elements will compliment or complete the print, but will not be the main focus of the process.
Register Now
Click Here to Pay $50
Who is this class for?
- anyone who is interested in playing with gelatin printing
- those interested in building up design skills by making abstract landscapes
- mixed media artist who want to play with printing with the gelatin plate
Answers to FAQ’s click here
Supplies
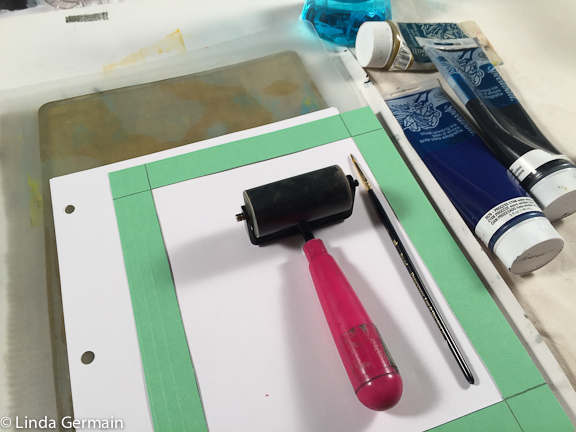
I always try to encourage students to use what they have. These are the supplies that I will be using:
- Gelatin plate – get the FREE instructions here
- Speedball water based block printing inks – black, cyan, yellow and gold or your favorite colors
- Soft rubber brayers
- a few plastic chopping mats to cover your gelatin plate or plexiglass glass as an ink palette
- 90 lb drawing paper is inexpensive and absorbs the ink well
- 4″x6″ index cards
- old newsprint, newspaper
- some copy paper
- drawing charcoal – assorted hardness soft to hard
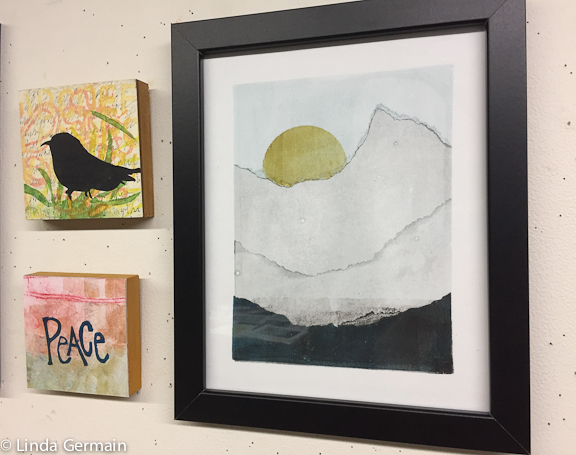
If you would like to frame or mount a few pieces at the end of class then you will need frames, mats and maybe some wooden cradles. I would suggest waiting until you know which pieces you would like to finish and then purchase the framing supplies.
Summary of the lessons:
This is the lesson breakdown:
1 Make Framing mat, tear and mark stencils- and begin printing some monochromatic mountain scenes.
2 Assess first set of Prints– use a couple of tools to examine your first set of prints. We will look at the prints with an eye to division of space and range of value. With this new knowledge we will add to some prints to complete them. We will also use masking techniques to add a floating or rising moon.
3 Add to and complete some ghost printsby increasing range of value and creating movement through division of space. Maybe explore color. Create a new color scheme or use color over ghost prints. Change the format or size?
4 Bonus ideas– Create a torn collage mountain scape with “failed” prints. How to remove light finger prints. Mat or Frame a few images to complete for holiday gifts.
Pull lots of prints to get the perfect few.
Frame and enjoy the finished print.
