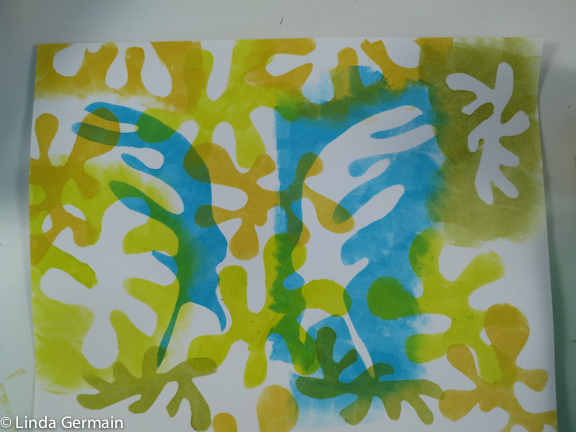
Make Stencils like Matisse’s Cut-Outs
This tutorial is designed to get you making and experimenting with some stencils very quickly.
It is deceptively simple.
TRY it!
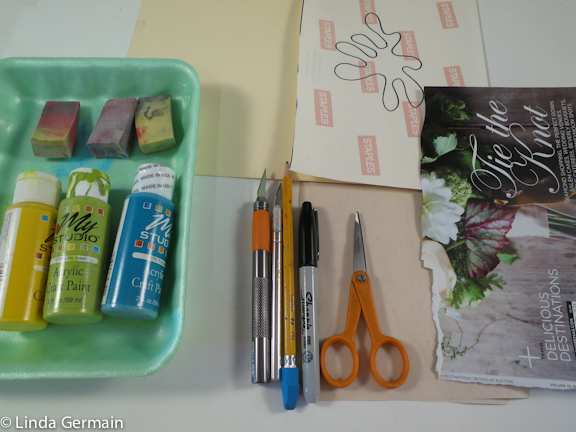
Things that you need:
- Pencil or marker
- Sharp cutting tool – exact knife, box cutter or tiny scissors
- Cutting mat or smooth cardboard to use as a cutting surface
- Paper to cut the stencil from – any of these may work
- glossy magazine cover
- manilla filing folder
- card stock
- Tyvek
- Release paper – like the kind that is the backing for Avery labels
- anything that is thin but sturdy and slightly water resistant
- Acrylic craft paint – again use what you have. Three colors that you like.
- Cosmetic Sponge
- Foam tray, palette or scrap paper to use as a palette.
- Paper to print on – I used card stock. Drawing paper, found papers are good choices too.
To Begin:
Keep it simple.
Inspirations and Sketches:
- Pull up some images from google of the Matisse Cut-Outs. Just do an image search.
- Take some scrap paper and do some practice drawings
- Be loose and accepting
- Do enough so that you find some that you like
- Do them in about the same size as you want your stencils to be.
- You could look at some of your own, trees, leaves or house plants for reference and inspiration. This will make it more personal to you.
- Move through any critical self judgment and don’t let it stop you!
Stencil cut out
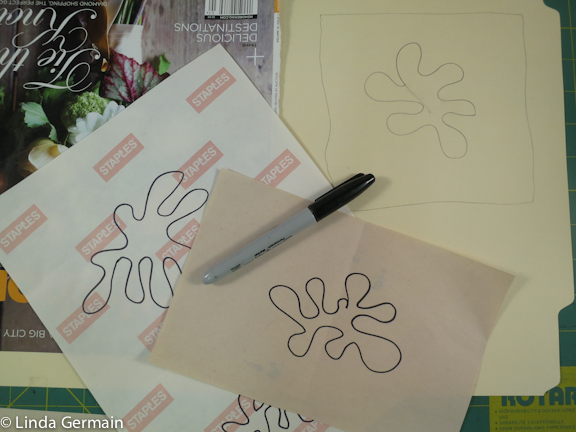
Now draw or trace the 3 images that you like on to your stencil material.
If you trace, you can tape the sketch to a sunny window and then place your stencil material on top. And you should be able to see through like a light box
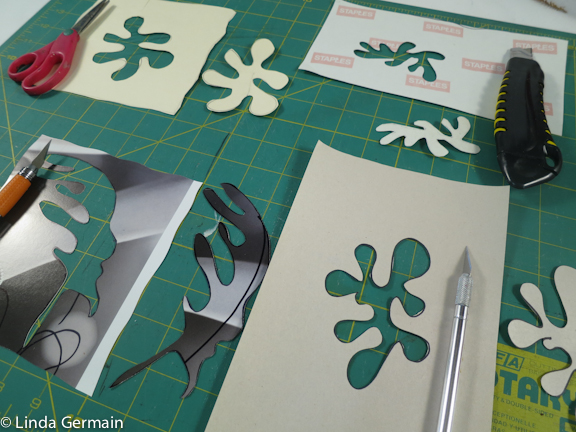
Cut out very carefully on the line.
We are trying to use both the hole stencil and the masking stencil in this project, so you don’t want to over cut.
Some cutting tips:
- Use a sharp fresh blade
- Safety first – be careful and aware of your blades.
- Is the blade bending? If so then you may need a stronger blade for the material you are trying to cut.
- Did the tip of the blade snap off? If so, get a new one.
- Try turning the paper rather than dragging the knife.
- Long continuous cuts with give you the smoothest edge.
- Lift the paper and leave the blade in place to avoid a jagged edge.
Printing tips:
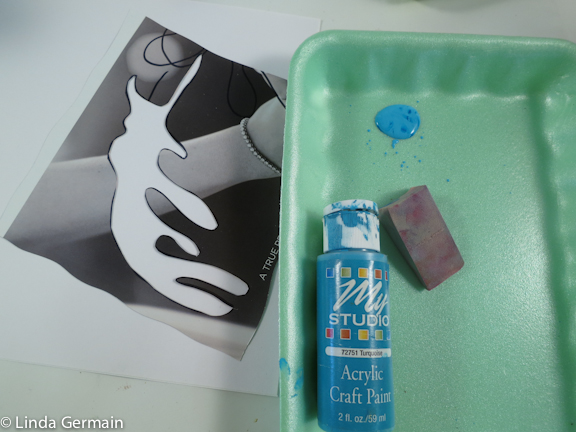
- Put a small amount of ink on your palette
- Use a dense cosmetic sponge
- Dab with and up and down motion
- Dab a bit of ink on to the sponge and the dab it in a clean area of the palette
- This is to even out the ink on the bottom of the sponge
- Less is more
- Too much ink then it may seep under the stencil
- Place the stencil on your print paper
- Hold the stencil firmly in place with wide spread fingers of one hand
- With the other hand start dabbing ink into the open area of the stencil
- I start in the middle, just in case I have too much ink on my sponge
- Then I still have a chance to dab up and down and evenly cover the open area with ink.
- If you have too much ink and you start on the edge you may get some ink seeping under the stencil.
- This just takes practice.
- Remember to dab up and down
- Don’t rub or brush, this motion could cause you to force ink under the stencil causing a bleed
To Print with a masking stencil:
The masking stencil is the solid shape that you cut out. I would usually use this kind of stencil with the Gelatin plate or other method of printmaking.
- But we can use it for this project too.
- Do you see the white leaf shapes in the photo above?
- Those were made by dabbing ink around the masking stencil.
To do this:
- Stabilize the stencil with one hand and dab around the edges, with a steady up and down dabbing motion.
- You want to think about the outer edge of this shape that you are creating. I loosely made my shapes like a rectangle.
- You want to notice, what is going on under the masking stencil. Is it mostly the white of the paper or are you inking over chaos?
- Some other things that I thought of as I was adding layers of leaves to the print above:
- Can I go off the page?
- How are the leaves touching and over lapping?
- Which way does my eye move around the piece
- Do I have different shapes and sizes?
- Did I leave some white or light space?
- Are my colors creating harmony or tension?
Even though this is a pretty simple process with simple shapes a lot can be learned and achieved.
Look at what Matisse did! https://www.moma.org/interactives/exhibitions/2014/matisse/the-cut-outs.htm
If you have questions about the course: email me linda@LindaGermain.com
