Self study
I love making marks. I love to discover new tools and new ways to use old tools.
This workshop is part:
- mark making
- tool making
- art journaling
- primitive printing
- intuitive creation
We will:
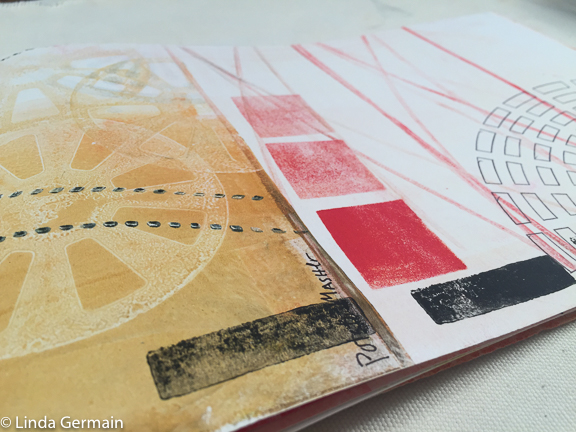
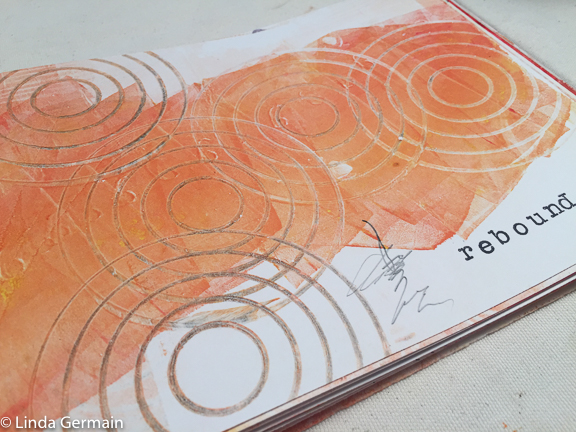
- Use the gelatin plate, ink and found tools to create light background textures
- Make a few stamping tools with cardboard, blocks, and foam
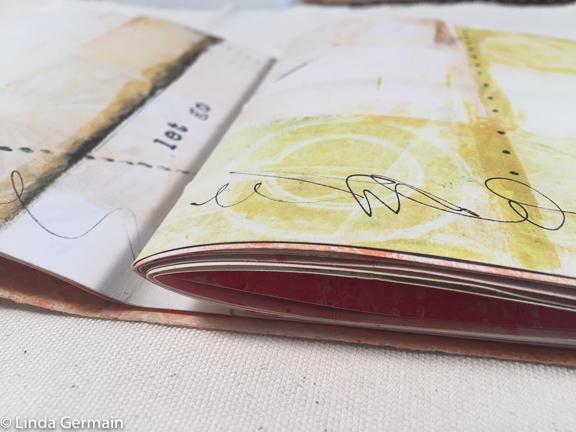
- Slowly build up pages of a book with uniques marks and evolving visual story
Register Now
Click Here to Pay $85
Use credit or debit card
You will be prompted to create your private student login
and then to make your payment.
Join us Today
Answers to FAQs click here
Supplies that you may need:
- Gelatin plate – FREE recipe here
- Speedball water based ink
- brayer
- paper of your choice – I like
- 90 lb drawing paper 12″ x 18″
- Rice paper on a roll or 12″ x 18″
- Tracing paper on a roll or 12″ x 18″
- I like these sizes and papers because I am making a long landscape shaped book, but you could do the techniques at any size. So use what you have
- One large sheet of sturdy printmaking paper, watercolor paper or mixed media paper for the cover. I use Arnhem. But you can use what you have.
- Cardboard
- thin easy to cut craft foam sheets
- set of small children’s blocks (dollar store)
- water based markers
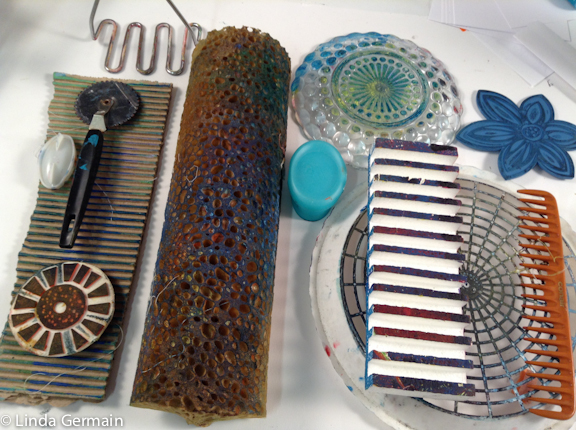
- Variety of found mark making tools (see photo below)
- glue
- exacto knife
- soft crayons
I hope that you are not overwhelmed by the supply list. I really wish that you can use what you already have in new ways.
Students say:
Thank you so much! I’ve learned so much for watching the videos, and I have really enjoyed seeing what you and others are making. I”m busy at the moment, but am working on getting together materials and making tools for later in the month when I have a little more space to play! Jody D.
I am so glad I took your ” Make marks and books.” You are one of the few artists who emphasize the beauty and importance of “WHITE” spaces. I appreciate your teaching and approach. Thank you. Lucia T.
Register Now
Click Here to Pay $85
Lesson Outline
0. Pre-course Prep
-
- Find tools
- Make a list of your favorite tools already
- Notice what you tend to doodle – doodle daily
- Set up workspace
- Make Plate & gather supplies
1. Print with the gelatin Plate and found tools
-
- Prep paper folded page, tracing paper, and sturdy cover, oversized cover
- Print parts of pages testing tools – light layers, keep what you like
- Stamp into, stamp onto plate leave white space
2. Celebrate cardboard, circles, lines, shapes, edges, corrugation
-
- Make 5 relief plates
- Print those plates
3. Dry marks allow you to keep working. You do not have to wait for things to dry. Allows for immediate feedback and response to your work. Allows you to loosely assemble the book and develop the pages.
4. Make geometric foam block stamps Let dry. Print with markers Make 9 stamps
5. Use sturdy raised tools for crayon rubbings. Test on scrap first
6. Respond with inspired words or doodles. Make it you own. Maybe try a hand drawn font
7. Composition considerations
-
- Assemble book.
- Bind with pamphlet stitch.
Register Now
Click Here to Pay $85
I know this is a busy time of year and that is why it is a perfect time for this class. The process is intended to support your well being through creative expression.
- Access to the lessons for at least one year
- Pre-recorded so watch at your convenience
- Pay with credit or debit card


