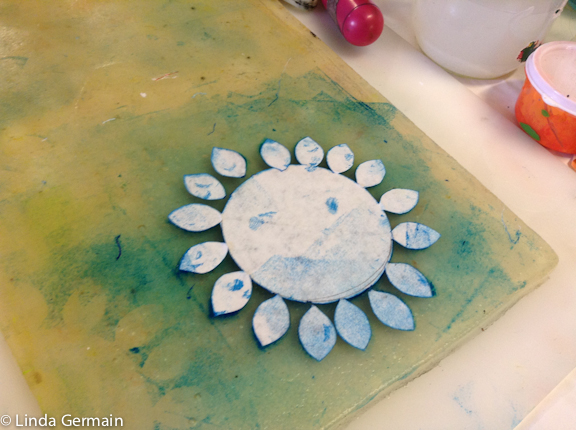
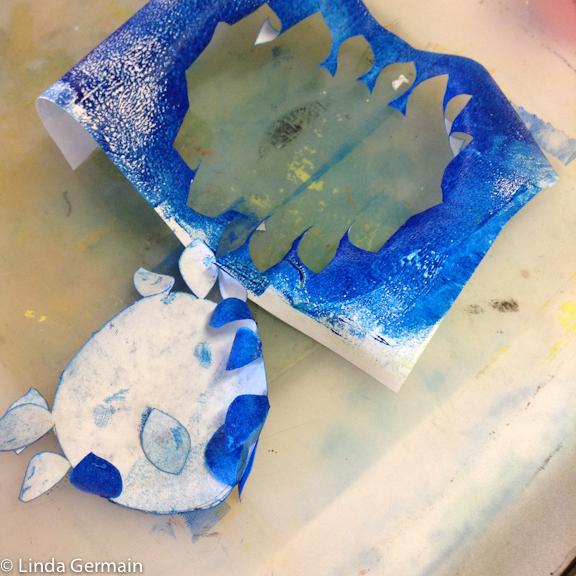
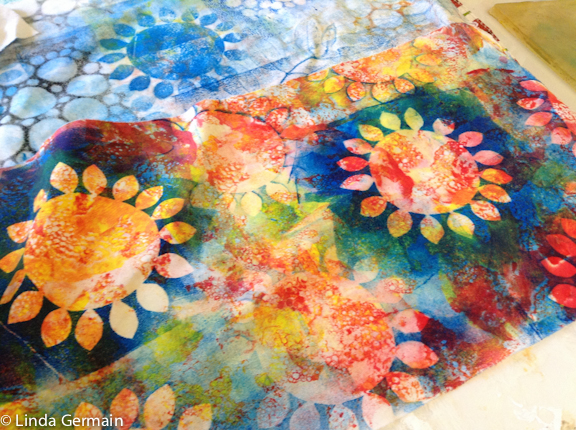
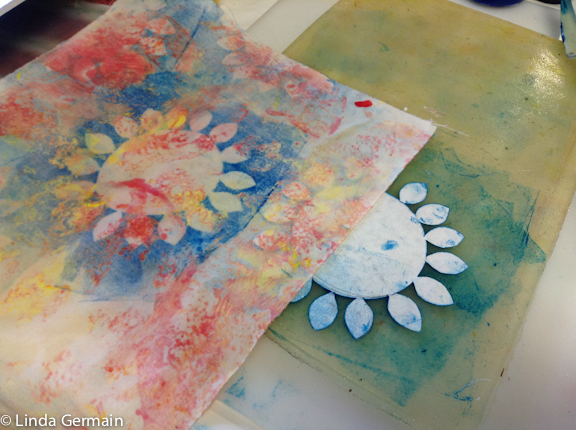
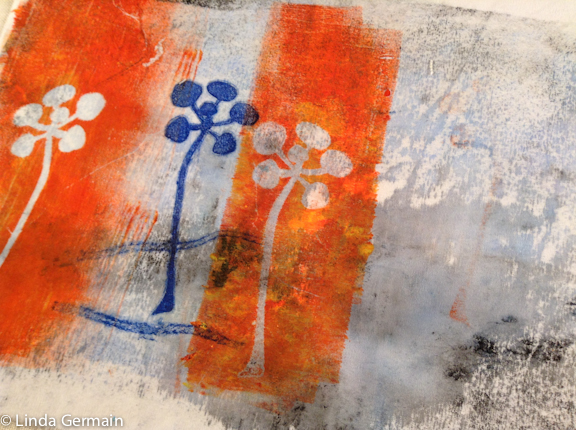
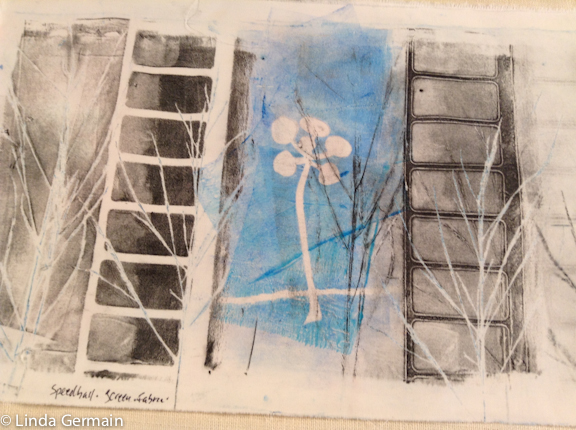
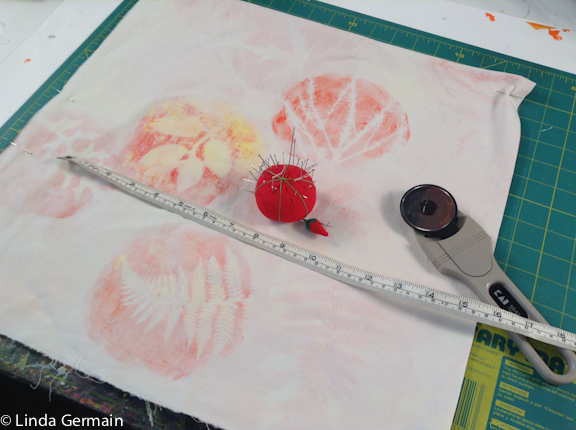
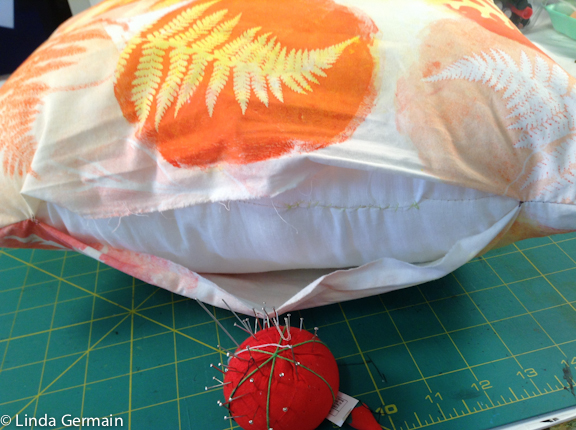
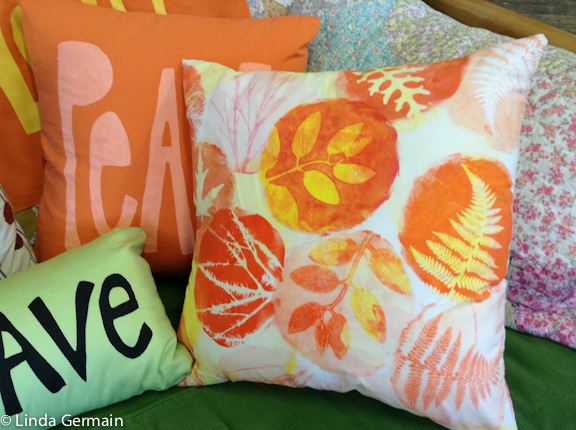
Today I made a couple of pillow covers with some gelatin printed fabric.
I simply cut the fabric 1″ bigger than the pillow form. Sewed 3 sides with the machine.
Sew 2″ in on each edge of the 4th side. Insert form and whip stitch the rest by hand.
Happy with the results!
If you would like to learn to make hand printed fabric for your fiber projects then check out the details and join us in the next session of Monoprinting Fabric – with the gelatin plate. It is an easy experimental process that can give a wide range of printed marks.
This online printmaking course is for anyone who wants to learn to gelatin print on fabric. We will start with the basics and go from there. If you already are familiar with gelatin printmaking, then you will develop nuanced marks and details that are possible with this process.
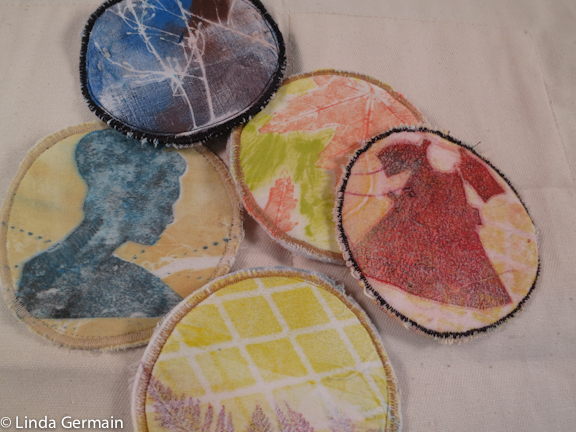
Coasters are a quick and easy way to use small experimental prints.
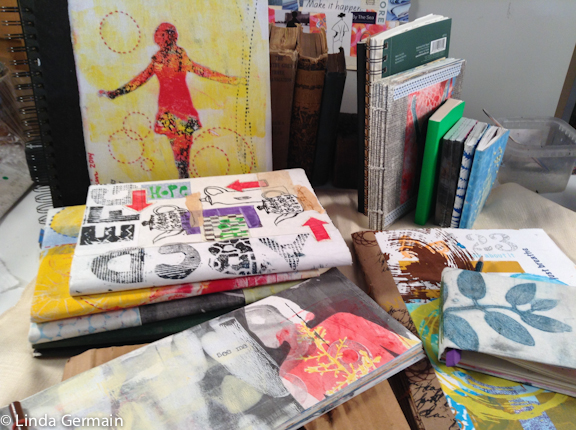
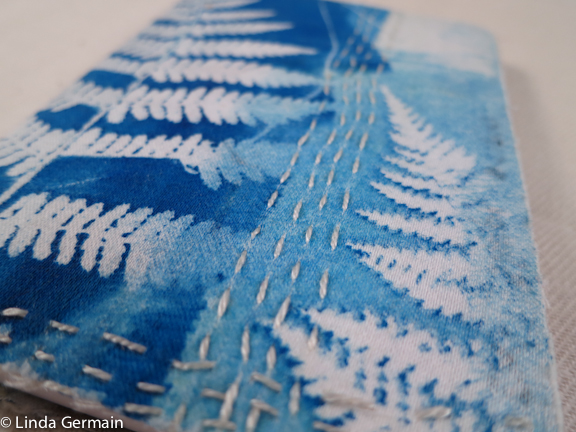
You can piece small portions of prints, hand stitch and then cover a notebook.
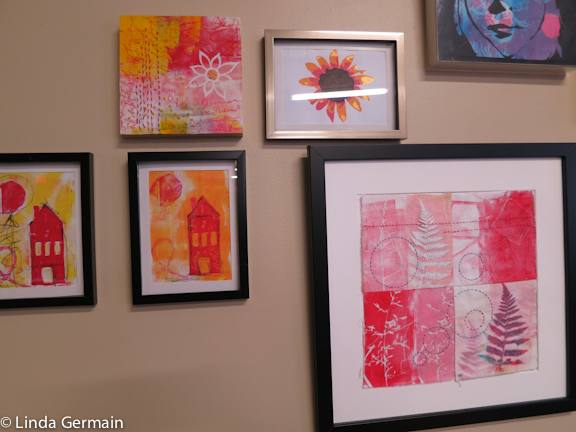
Piecing and framing monoprinted fabrics is a way to enjoy them all day long.
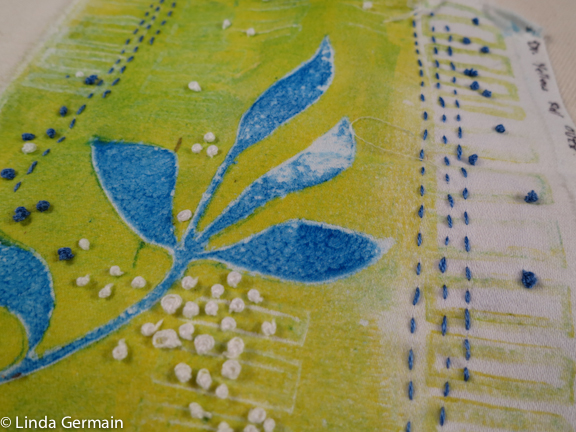
Lots of hand stitching can transform your monoprints on fabric into Art Quilts.
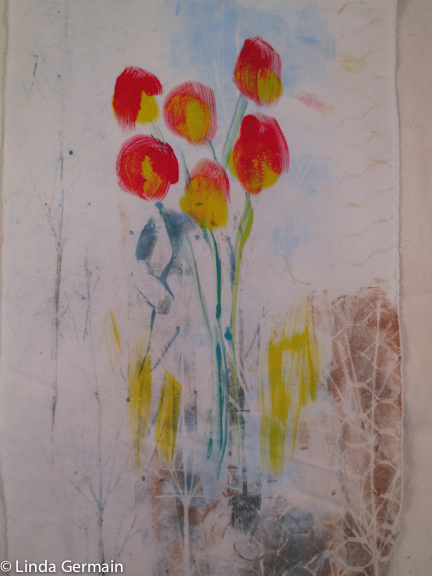
Experimental wash outs and painted layers can create beautiful prints for framing.
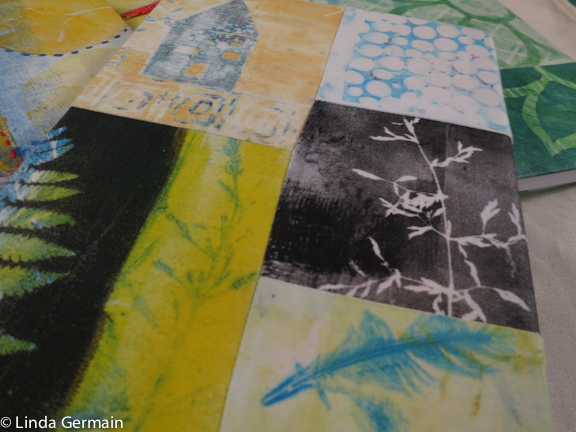
Piece small monotype prints together for larger projects
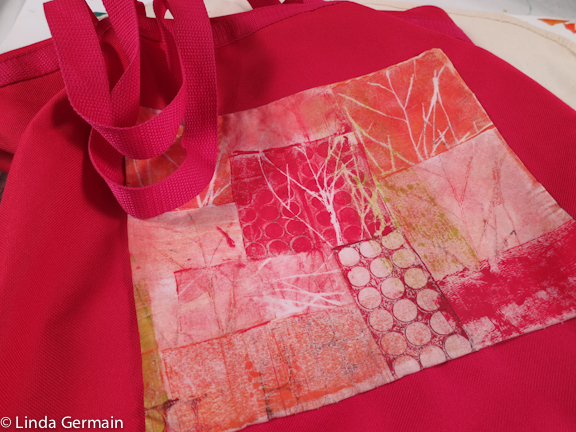
Make a “patch” and cover a logo on a tote bag
Want to explore monoprinting on fabric with the gelatin plate? You are in luck! Class starts soon. Read the details on the printmaking workshop page here.
Want to Hand Print Unique Fabric?
Join today and get notice of future classes.
You will also get weekly emails about printmaking, tips, tools and classes.
You are familiar with the idea of screen printing. Everyone has a screen printed T-shirt. Maybe you are even familiar with Andy Warhol’s famous screen prints as shown below.
The idea is simple. You push/pull ink through tiny holes in a design on a screen. The trick is to get the design on the screen.
Thermofax machines do this for us. And you do not need the expensive machine to get started.
I have the machine and I made a starter kit for you. You can be screen printing by the end of the week.
This starter kit gives you the 8 designs shown above. They are great for small projects. You can prints, cards, mixed media projects, t-shirts and more.
Video: Screen Printing made easy with Thermofax kit
Watch the motion of my hand. It is so easy to make the print
This Kit is no longer available.
Show you how to cut, tape and stabilize the screens
Print with the screens
Choose substrates to print on
Get you started
You will also get information on how to set up your workspace and clean and care for your new screens.
This Kit is no longer available.
A table cover, scarf, note cards and handbag all made with the thermofax screen starter kit images.
Generally I advise folks to use proper screen printing ink so that the ink does not dry too fast and ruin the screen. But a recent shopping trip revealed that the local craft stores are not carrying basic screen printing ink. I am so disappointed.
That lead me to experiment with acrylic craft paint. And I will say that is it possible to print with the craft paint BUT you MUST clean the screen IMMEDIATELY. So the ink does not dry in the holes and ruin your screen. And I do I mean immediately.
All craft paints are different and the cheaper they are the more water they have and the less pigment. I liked how the Martha Stewart satin worked. If the paint is too watery it can not hold the edge.
Another alternative is to order the Golden screen printing medium, mix that with you acrylic craft paint and you should be good to go.
Watch this video and get some idea of images and types of stencils that we will be exploring in the Make Stencil Workshop, the new online printmaking class.
Stencils are the foundation of Printmaking
In this online printmaking workshop, we are going to making lots of stencils, both the masking type and the traditional style. Then you will have tools and imagery for gelatin printmaking, screen printing, maybe for thermofax screens and most certainly for traditional stenciling projects.
The focus of the course is going to be tool creation, plenty of time to practice and then a few projects peppered in.
Stencils are the foundation for images in screen printing. Stencils are used as masks and tools in monoprinting on the gel plate.
If you make prints without a press you can make better prints, if you have stronger stencil making skills.
Practice and cut more stencils and you will get better. I hope this does not discourage you or disappoint.
But if you get into the habit of collecting ideas and images, and then cut out one new stencil every couple of days, then your collection of unique hand made stencils will grow at a steady pace, and you will have more than enough printmaking options.
Here are three stencil cutting practice tips:
Download my free Cutting SKILLS Worksheet by Linda Germain and use it. If you save all the cut outs you will have 7 small masking stencils and 8 traditional stencils to play with. (print it out on card stock)
Start a physical and digital file folder to collect inspiration.
Start simple, build your confidence and success and then get more complex. You can do it!
If you think that you would like the guidance of an instructor, support of an art community and 4 weeks of lessons, then join us in the new online printmaking class – Make Stencils Workshop. Click here for the details. Registration is open now and class starts March 28th.
The skills you master in this class will jumpstart and support all your other printmaking processes. However if you are a beginner this will be a good course for you was well. There will be lots of time for skill development and practice. I hope you join us.