Drawings as a matrix for printmaking
Use your drawings to create printing plates.

If you have been following me for a while, then you know I don’t love to draw. So I find ways to “maximize” my drawings. That means that I take a drawing and turn it into a printing matrix.
The drawing might become:
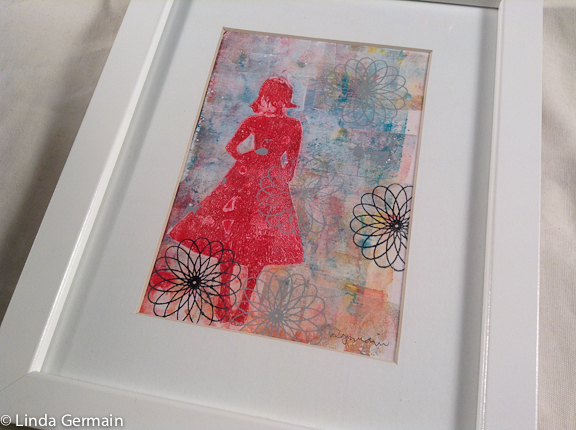
- a trace monoprint
- a relief block
- a foam plate
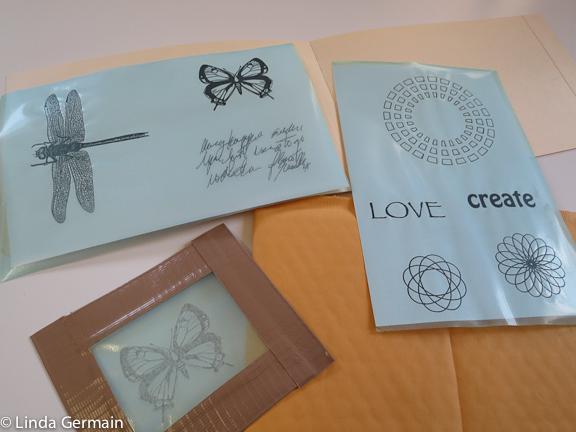
- a thermofax screen or
- a stencil for making monotypes
If you are like me and love to make stuff, but would rather play with ink, layer, and texture than do drawings then check out the current online printmaking classes.
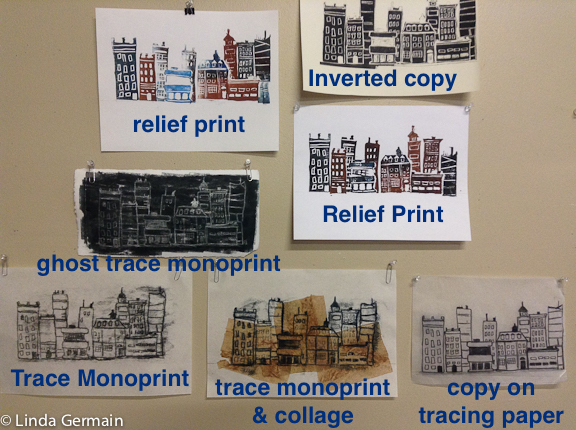
I did a city scape inspired by the roof tops in my town. There was no exciting skyline, so I just did some sketches of the details that I was attracted to.
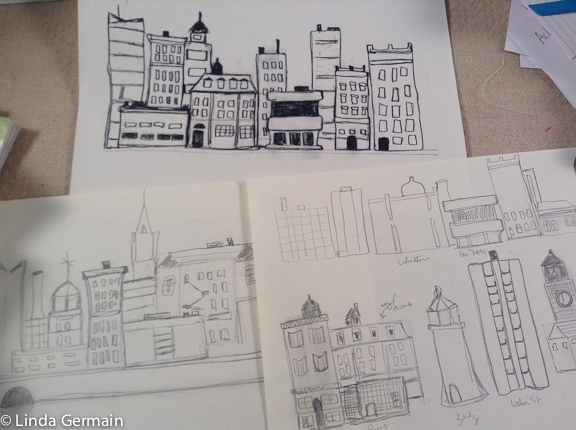
Then I combined the different sketches into a skyline. I think I have enough sketches to last me quite a while. I could not fit them all into one drawing.
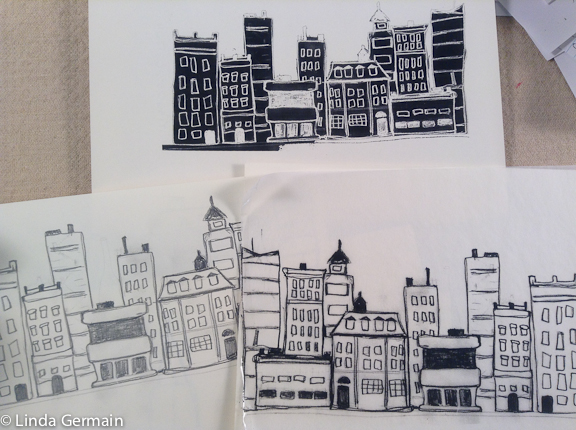
I used my printer to make a few copies. I also printed a mirror image and an inverted image. These types of copies help when designing relief blocks and trace monoprints.
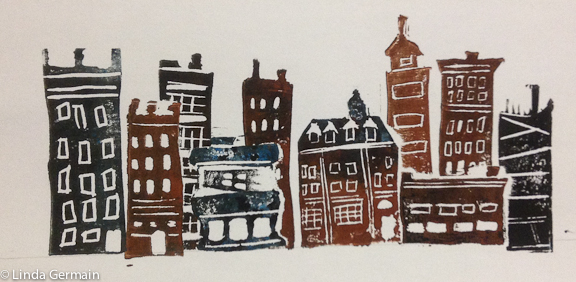
I will do some more experimenting with these relief stamps, but I do like how they capture the feel of the old mill town that I live in.
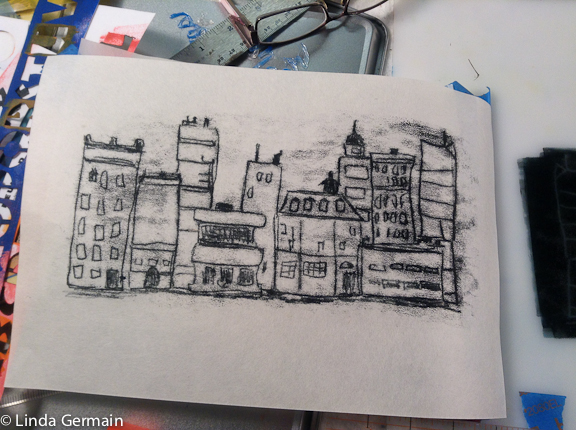
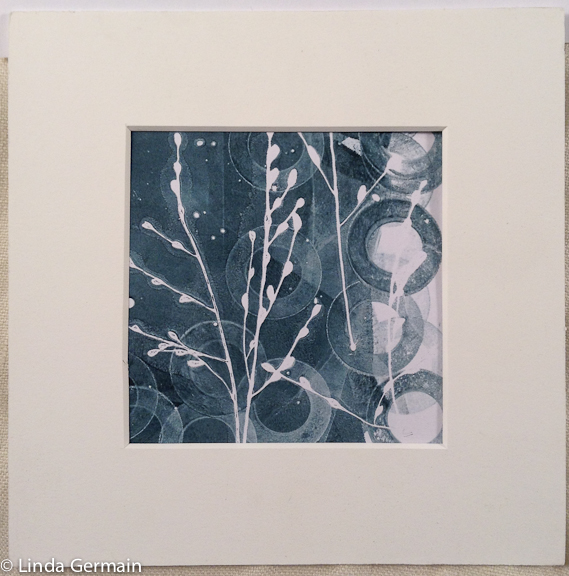
The trace monoprint above was done pretty quickly, so the ink would not dry. I may add some collage to the bottom of the buildings.
I was pleased with this ghost impression of the print above. I used a heavy weight printmaking paper, soaked and blotted it. Then laid it on top of the left over ink and burnished with an old door knob. Because I am working with water based inks, this does not always work. Today I was lucky.
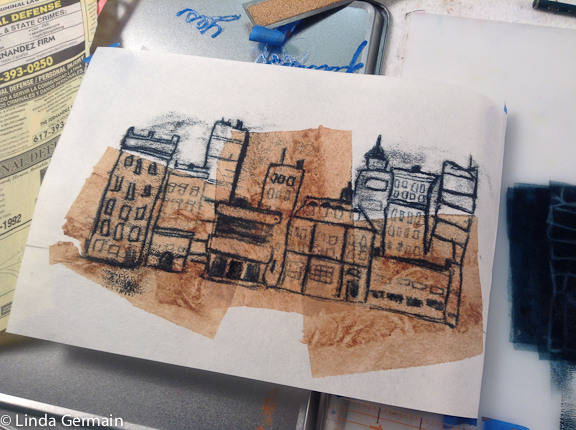
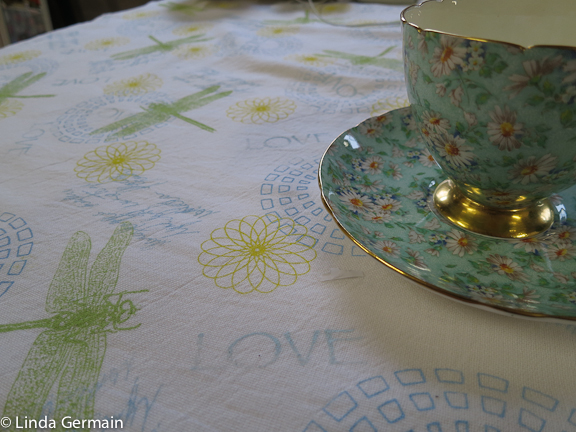
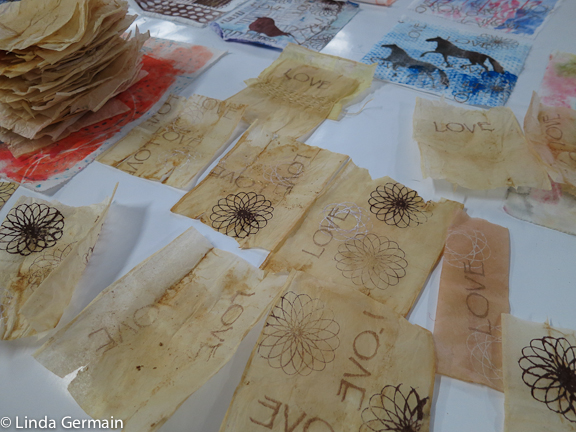
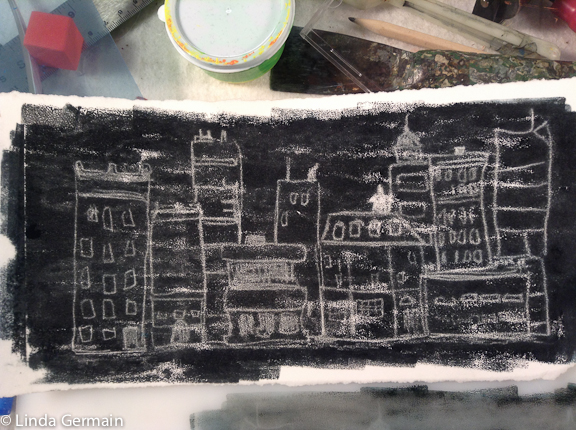
I used tea bags to create a collage and then did the trace monoprint. I like the idea. I just think the tea bags are a little to dark and over powering. I will try something else to create a background next time.
So check out the details of the SEE draw and print, online printmaking workshop. It may be just what you need to give your drawing and printmaking a boost.
Drawings as a matrix for printmaking Read More »