fabric prints

Dyeing with Rit Dye

I cycle through working with fabric at different times. Recently I was admiring indigo fabrics and thought I would give it a try.

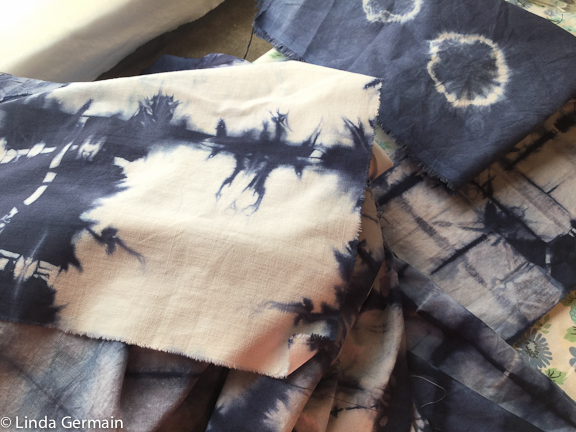
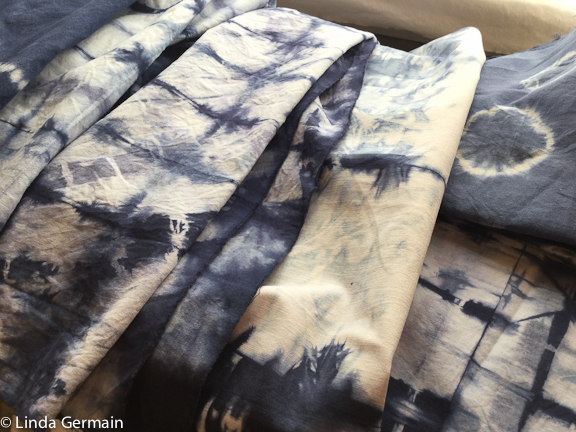
shibori dyed fabric

I am super sensitive to fumes and chemicals, so I used the liquid Rit Dye. That way I did not have to deal with mixing powders. I was going to follow some of the indigo recipes and mix black and blue, but I found that I really liked the Denim Blue alone.

fabric dyed with Rit shibori style

I am not sure how long the open bottle will last but I have had it for a couple of weeks and I am still able to get a nice blue. I am not aiming for perfect even coverage though.

dyed and screen printed fabric

Today I dyed a sack cloth that I had screen printed. I dyed the whole piece in a mason jar.

  • Hot water,
  • a bit of salt,
  • 2 teaspoons of liquid Rit dyed
  • and the white cloth was transformed.

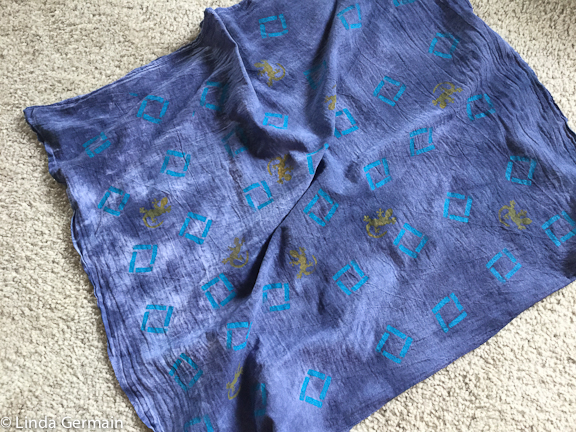
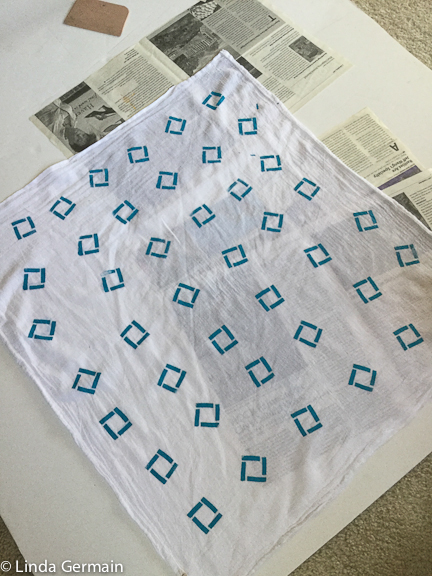
hand printed and dyed fabric

I really like how the blue square image pops with the blue dye. The ochre gecko image is a bit dull or mottled but I am ok with it.

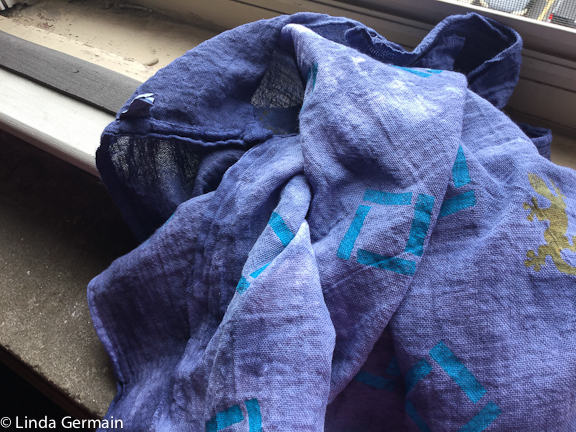
screen printed fabric with a paper stencil

This is the sack cloth with just the screen printed square.

The Rit Dye folks have a lot of great information, tutorials and mixing recipes check it out.

SaveSave

Dyeing with Rit Dye Read More »
Limit the elements to simplify the monoprint

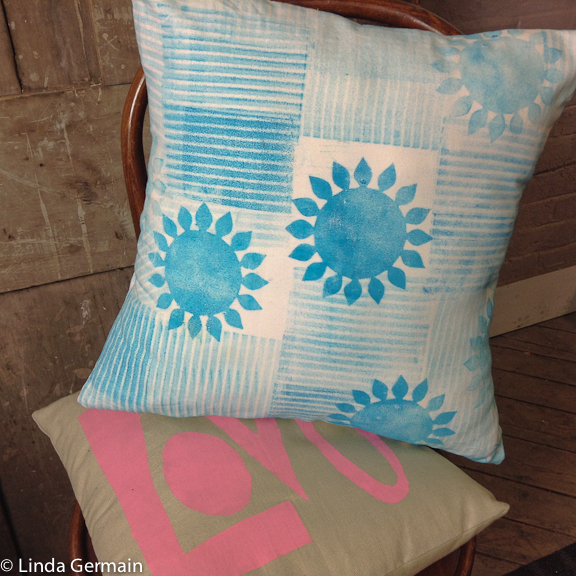
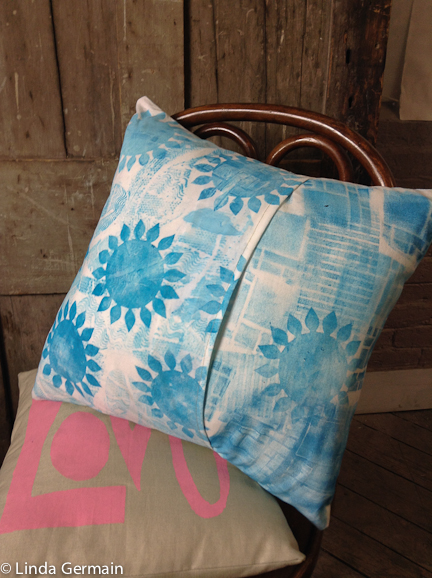
I made another pillow cover with some monoprinted fabric. I wanted to see if I could simplify the design.

I would say I was able to simplify the pillow cover in many ways, compared to the pillow I did last week.

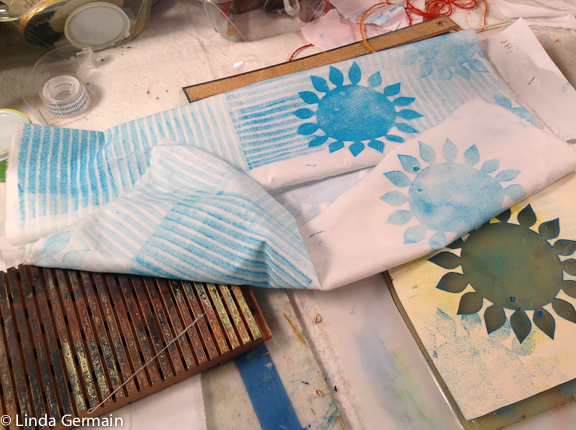
process of gel printing on fabric

This is what I did differently:

  • I used full size fabric pieces so I did not have to piece the cover together
  • I used just one color
  • I limited my tools to 3 stamping/rubbing tools and one stencil

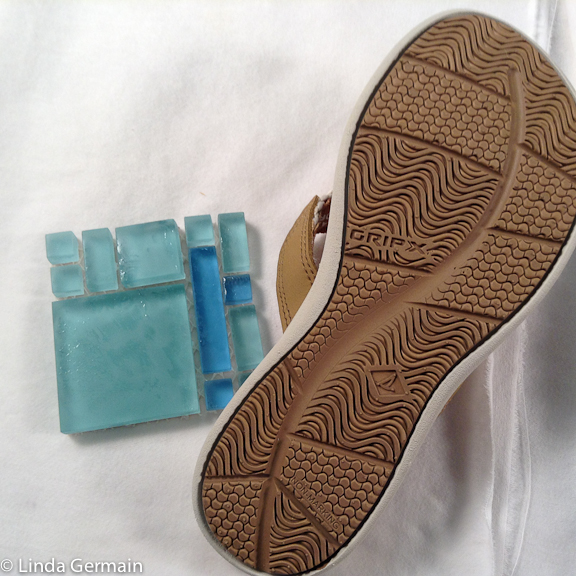
I found a couple of interesting mark making tools at Extras for Creative Reuse, our local recycle store. I just loved the designs and patterns on this Sperry Sandal. And the geometric patter of this tile piece inspired me.

found object marking tools for printmaking

I tested them out and they worked OK, not a fabulously as I had hoped. But they could still inspired some foam relief plates.

back side of pillow cover with monoprinted cloth

I mainly used them to create light brayer rubbings in the background. I relied on the the bold flower stencil to create the darker marks and the focus of the fabric print.

pillow sham sewn with monoprinted fabric

I had the straight line “tool” in my stash of found object mark making tools. I am sure I got it at Extras for Creative Reuse a while back. I like how I have a uneven =, dynamic balance of marks, motion and value.

You still have time to join us in Monoprinting on Fabric. Class starts soon. Read the details on the printmaking workshop page and register today.

You will make your own fabric for pillows and more.

Students are liking Monoprinting on Fabric

Gelatin Printing on Fabric Loved it! 3 key approaches I have learned

  • bubbles/imperfections in the gelatine plate can be a good thing – it does NOT have to be perfectly smooth,
  • doing a brayer rubbings on a piece of fabric and
  • finally being able to get a coordinated set of prints.

Thank you everyone in the class for your comments and adding to the learning process. Erin J. from Australia


Monoprinting Fabric has been a wonderful class…so well presented.

I have thoroughly enjoyed it!

from Candee L from the US


Check out some student work in this video.

Limit the elements to simplify the monoprint Read More »

Video of Student Monoprints on Fabric

Monoprinting on fabric is fast and experimental.

Check out some prints made by the participants of the last session of Monoprinting on fabric, the online printmaking course.

Monoprintng on Fabric – Student work from Linda Germain on Vimeo.

If this looks fun to you, then you are in luck. The next session of this printmaking class starts soon. Read the details and join us today.

Students are learning a lot:

kathyirving-2 happy printmaking student

Monoprinting Fabric is an enjoyable and valuable learning experience. I will miss the daily anticipation of what new technique was coming next. Linda provided an excellent foundation to build on, and I am grateful for her expertise and willingness to share it with us. I look forward to another class with you. Kathy I. from the US

Gelatin Printing on Fabric Loved it! 3 key approaches I have learned

  • bubbles/imperfections in the gelatine plate can be a good thing – it does NOT have to be perfectly smooth,
  • doing a brayer rubbings on a piece of fabric and
  • finally being able to get a coordinated set of prints.

Thank you everyone in the class for your comments and adding to the learning process. Erin J. from Australia

Video of Student Monoprints on Fabric Read More »

Add hand sewing to Monoprinted fabric projects

Hand sewing can be as simple as the running stitch. It may be simple but a few stitches can really transform a printed fabric project.

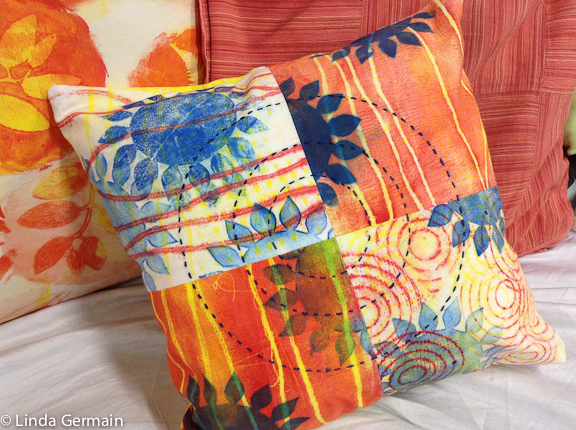
monoprinting fabric with hand stitching

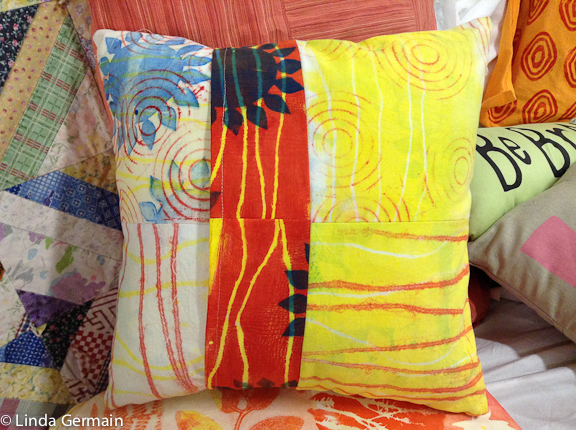
For this pillow cover I pieced several monoprinted squares of cotton together.

Then I used the circle motif to repeat an underlying elements and unify the the design. The ideas evolved as I printed the fabric, pieced the squares and finished the pillow.

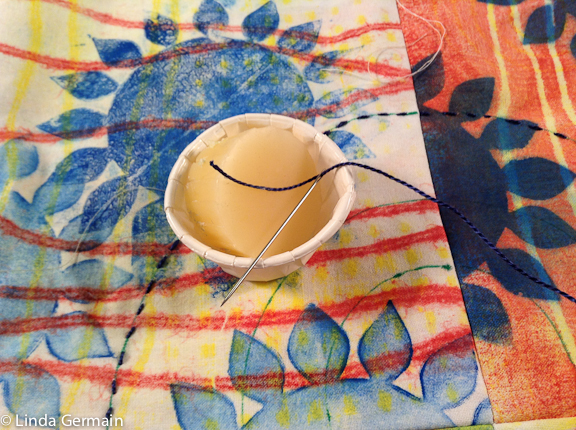
waxed the tip of the thread

I used a little wax on the end of my embroidery floss to get the fibers to stay together for a little easier threading.

I got the idea from my bookbinding tool kit. We use this chunk of beeswax to coat the thread for book binding. Just pull the end of the thread through the cold wax a few times and smooth with your warm fingers.

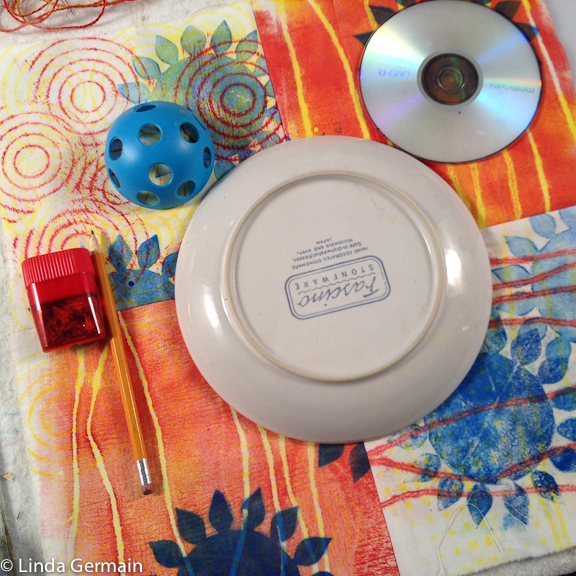
circle making tools from the studio

I found some round circles from around the studio to make my sewing lines. I traced a small plate, a cd and a whiffle ball, to make 3 different sized circles.

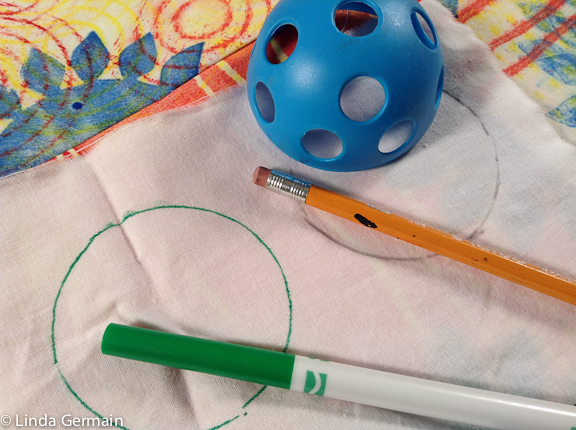
used water based marker to make the sewing lines

I tested my green water based marker first on a piece of scrap fabric. I wanted to make sure that I could easily rinse out the sewing lines when I was done. The pencil did wash out but it required more scrubbing.

Be sure to test your marking tools before you draw on your original art work.

back side of hand printed pillow cover

I was pleasantly surprised with how the back side of the pillow cover turned out. I used the bolder solids on the back. I think it works. There is some variety and repetition of marks and I like how the pieces of fabric are different sizes.

Want to make your own monoprinted pillow cover?

YES! then check out the online self study Monoprinting on Fabric.

Students are getting a lot from Monoprinting Fabric Course

kathyirving-2 happy printmaking student

Monoprinting Fabric is an enjoyable and valuable learning experience. I will miss the daily anticipation of what new technique was coming next.

Linda provided an excellent foundation to build on, and I am grateful for her expertise and willingness to share it with us. I look forward to another class with you. Kathy I. from the US


Monoprinting on Fabric has been a fabulous course. There is a lot there to keep me going for a very long time. I love your teaching style, very encouraging, supportive, clear and fun. Patricia G. from the UK

Add hand sewing to Monoprinted fabric projects Read More »

It’s hard to Keep it Simple

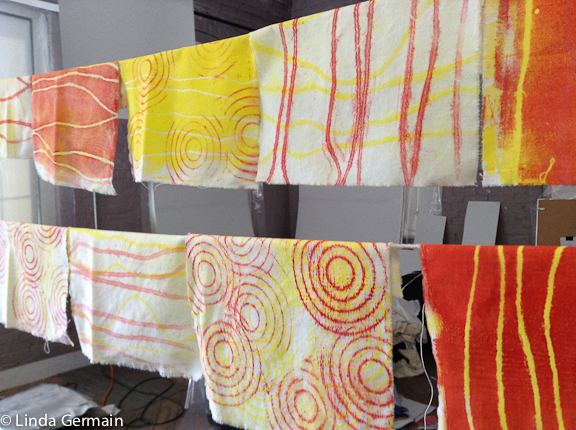
I had this idea to pull 10 8″ square monoprints on fabric and to keep it simple and bold. Well that was the plan.

monoprinted fabric squares by linda germain

Simple is hard!

When I got to the stage above, I still wanted more and I wanted to quiet down the colors. Sometimes layering can dull down colors that are too bright.

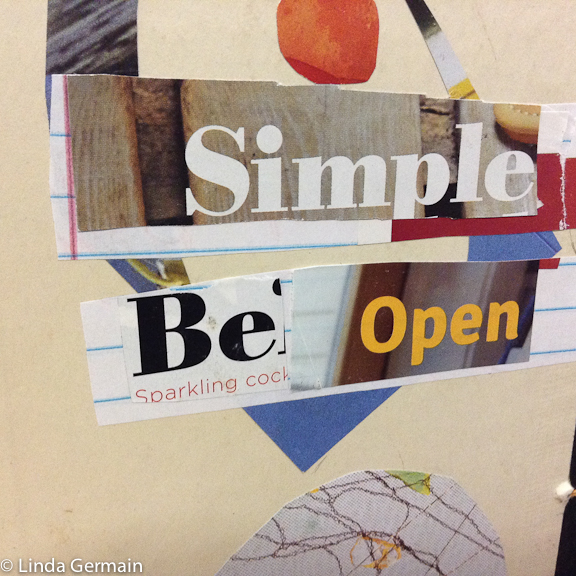
Be open to simple Linda Germain

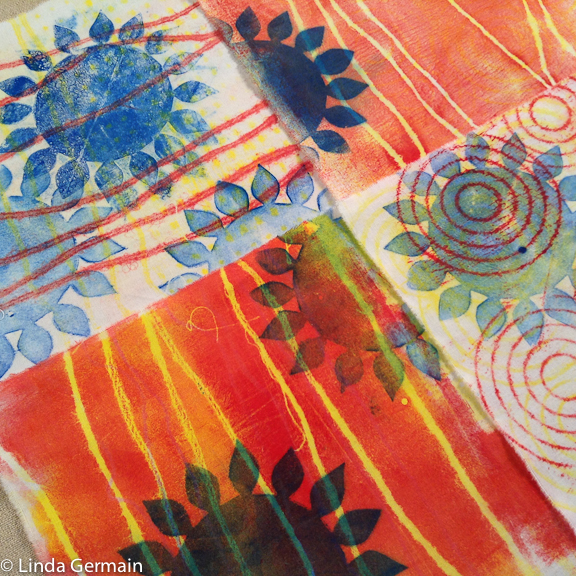
I added a new shaped element and the blue layer. I had 2 stencils the “hole stencil and the masking stencil. Unpredictable marks happened and I was able to do a quick wash out of some of the squares.

But I realized I needed to let go of my original plan and go with the flow.

hand printed pillow fabric by linda germain

So I am not done yet. I think I might piece some of the squares together for the pillow top and then see if some stitching could unify the squares.

If you would like to explore monoprinting fabric with the gelatin plate, then read the details on the printmaking workshop page and join us today.

Printmaking Class starts Jan 9th

Artists are loving the course

Gelatin Printing on Fabric Loved it! 3 key approaches I have learned

  • bubbles/imperfections in the gelatine plate can be a good thing – it does NOT have to be perfectly smooth,
  • doing a brayer rubbings on a piece of fabric and
  • finally being able to get a coordinated set of prints.

Thank you everyone in the class for your comments and adding to the learning process. Erin J. from Australia


linda-germain-2


Monoprinting Fabric has been a wonderful class…so well presented.

I have thoroughly enjoyed it!

from Candee L from the US


As a member of Monoprinting on Fabric you get:

  • 4 weeks of video lessons every Monday thru Friday you will receive a private video
  • 20+ short actionable videos to get you printing right away
  • Personal support and feedback as you need from Linda Germain
  • Anytime access to the classroom for 6 months after the course ends
  • Ability to download any or all materials/videos for life long personal use
  • Choice to be a member of the private Facebook group

Read the details and join us today! This is the only time this course will be offered in 2017.

It’s hard to Keep it Simple Read More »