2010

Screen Printing Tools on Tuesday
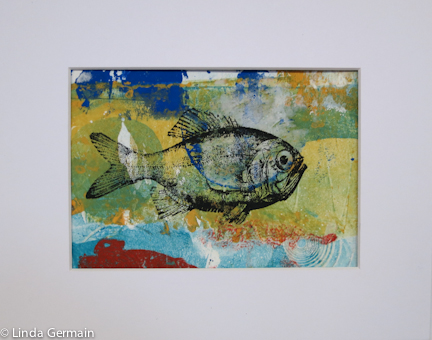
thermofax screen print over a gelatin print by linda germainThermofax screens are so easy to use and are easily incorporated in to mixed media printmaking.  One challenge that I have when screen printing is keeping my fingers clean, so that I can keep my prints clean.  I have found that –

  • take the time to set up my workspace
  • so I have space for the inky screen, the squeegee and the prints
  • then everything goes  a little more smoothly

Today I pulled out a pile of practice gelatin prints.  These are prints that are less than perfect, something a did for a demo or a warm up.  I have folders and folders of these types of prints.

You know my motto is make lots of prints so that you will get one or two that you really love.

I pulled out a pile of prints and set up my workspace and printed this fish on top of several gelatin plate prints.

Another tip for thermo fax screen print is to prepare many printing surfaces.  I mean have a lot of paper ready to print on.  Once your screen is filled with ink you want to keep printing, so you don’t waste the ink.  This is great if you are a fabric artist and like to create over all patterns on large pieces of fabric.  An artist buddy of mine, Linda Branch Dunn does this a lot.
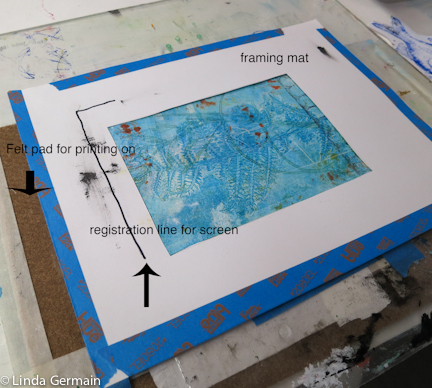
ThermoFax set up by Linda Germain
Workspace set up for thermofax printing on gelatin prints
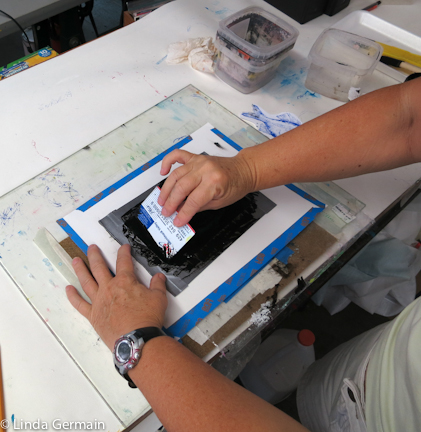
printing with a thermo fax screen by linda germain
The screen is lined up with the lines on the framing mat and I used a credit card to pull the ink through the screen

The empty plastic containers you see in the upper right hand corner are great for setting the inky screen on and the inky squeegee/credit card.  That way you avoid creating ink blobs here and there.
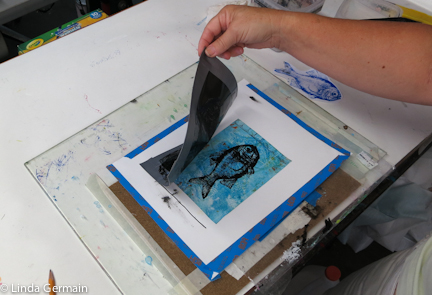
Pulling the thermo fax screen print by linda germain
Pulling the print

I am thinking about creating an online thermofax screen printing workshop. If you are interested in learning more about screen prints with the thermo fax screen, then join the special interest list.

Screen Printing Tools on Tuesday Read More »
Gelatin Printmaking Workshops for the Fall

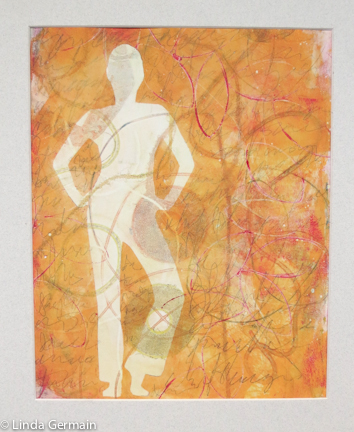
Well what do you think?  a gelatin print by linda germainI am happy to share with you my fall schedule for workshops in my studio, Haverhill, MA.

These classes include:

I have tried to come up with a variety of topics but whatever we will be doing it will include:

  • guided exploration
  • fun experimentation and
  • supportive environment

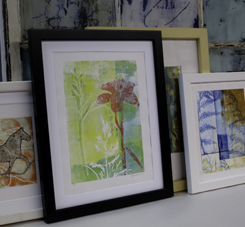
The gelatin plate print on the left has some faint red marks that I made with the paper tube stamping tool that I shared with you last week. I like the delicate subtle marks.

Please help me reach local students who would love to play with printmaking this fall.  Share this blog post on your favorite social media channel.

Happy Printing!

Linda

Gelatin Printmaking Workshops for the Fall Read More »

Printmaking workshops for the Fall

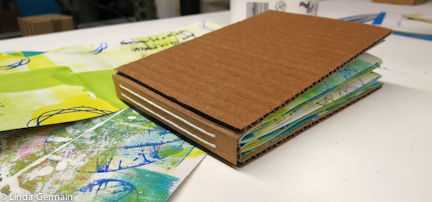
artist book with screen printed pages by linda germainI have just added 8 workshops to my fall schedule.  Please take a look and see if anything interests you.  There are 4 dates to choose from for the full day of gelatin printmaking.  See the description here.

And then I have put together 4 evening workshop that involve printmaking and book making, collage, some fiber and screen printing.  Check out the details here.

Happy Printing

LInda

Printmaking workshops for the Fall Read More »

5 Fabulous Tutorials

buy art from linda germain

  1. This Amazing 16 page journal by Teesha Moore is very thorough  and clear.  I have not done it yet but I am going to.
  2. Michelle from PrintCutSew.com  has a great video tutorial for paper stencil screen printing.
  3. How to not track your own visits in Google Analytics. I know this is not crafty or artsy, but we are more than artists and sometimes this stuff is good to know.
  4. How to make a vegan vanilla “cappuccino” – I enjoyed this recipe, I hope you will too.
  5. This is one t-shirt redo that I have wanted to try, but have not gotten around to it yet.


We are so lucky to have so much information available to us for free on the internet.  I am sharing these 5 favorite tutorials as part of the Link Love Mission hosted by Tammy Garcia from Daisy Yellow and Sister Diane from Crafty Pod.

I am a week behind, but I hope that is ok.  Sharing is always good even when it is a little late.share the link love daisy yellow

I am going to try to catch up.

5 Fabulous Tutorials Read More »

61 Gelatin Prints in 61 Days – Done

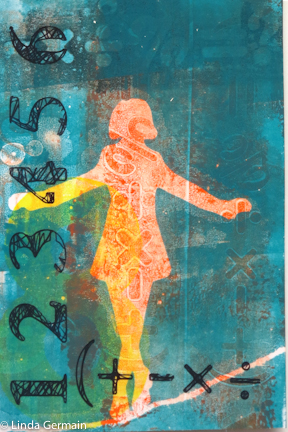
numbers and balance a gelatin print by linda germainI did it!  What a great community and leader in Tammy Garcia at Daisy Yellow.  I did the ICAD challenge and have the gelatin prints on my wall to admire.  These are some discoveries I made:

  • I like working small on a pre-cut size of paper
  • I like working in a series
  • I like the new gelatin, glycerin and water plate
  • It takes time to create, photograph, post and share
  • Goals and boundaries help me.

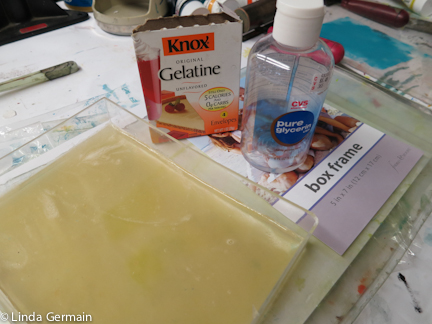
I have added a picture below of the materials I used to make my second gelatin, glycerin and water plate.  I have not printed on this one yet but the consistency feels good, flexible, soft and spongy but not too fragile.  So you could quite easily make this plate for yourself and be gelatin printing for months to come.

For this 5″ x 7″ gelatin, glycerine and water plate I used

  • 1/2 cup of water
  • 1/2 cup of glycerine
  • 1 box of gelatin
  • 5″ x 7″ acrylic box frame.

It was a little tricky for me to make in such a small quantity.  It got quite foamy.  I followed my basic instructions and dissolved the gelatin in the 1/4 cup of cold water then added 1/4 of boiling.  Stir with rubber spatula to dissolve and added the 1/2 cup of glycerine.  I think it is ok to microwave it for a few seconds to help things dissolve.

It sets up really quickly.  So there is little time to skim bubbles like in my first video.  I think I will try adding a little more water next time.  Or maybe a different pan.  The deep acrylic box frame is a great shape and size but I have a hard time getting the plate back in it for storage and a hard time skimming off the foam and bubbles.  Maybe I will dissolve the gelatin in the glycerin first and then add boiling water.  I think that is what Lindsay , the frugal crafter did.

gelatin, glycerin and water plate for printing by linda germainI would definitely NOT put any gelatin, glycerin and water mixture down the drain.  I think it will harden and clog the drain.  So clean your tools with paper towels and then lots of very hot water.

I found this everlasting gelatin, glycerin and water recipe over at the FrugalCrafter.   I found another recipe that added a bit of sugar to preserve the plate.  There is a full discussion of the questions that folks ran into  and Lindsay has provided lots of advise.  So I would check out her post above if you have any questions.

I do leave this gelatin/glycerin plate out on my work table and it has lasted quite a while.  I have melted down another one that I made and reshaped it.  It does not seem to be as affected by the weather as the gelatin and water only plate.  I am becoming a be fan of this recipe.

Aine Scannell  over at the gelatin plate flickr group is looking for ideas on how to make a really big gelatin, glycerin and water plate.  I can’t wait to see what she comes up with.

Enjoy!


61 Gelatin Prints in 61 Days – Done Read More »