I recently had a very enlightening experience with physical therapy for my knee that, I think could be applied to art making growth and habits.
I had been having some moderate knee pain for a few months and decided to get it checked out. The physical therapist found that my quad muscles were very tight and the opposite muscles, the hamstring was quite flexible.
So 1st week she gave me one little stretching exercise to do for 3 minutes a day.
Hmmm? I thought, how can this one little exercise possibly make a difference?
But I gave it a try and it worked! My knee started to improve.
How can this help my art making?
The activity was so small, so attainable that I simply could not, not do it! I easily had 3 minutes a day to do this one stretch, that only required a chair and a timer. It was so easy that I did it 3 times a day.
What if I did this with making prints?
How could I make it so easy to
- pull prints
- cut stencils
- make marks
- play with tools?
The key to adding a new art making habit maybe:
- Make the new habit doable in 3 to 5 minutes
- Do it every day
- Pick something that does not require many tools or set up
- Make the habit beneficial to your style of art making – important to you
- Maybe enlist a friend or coach to keep you accountable
I came up with some ideas that would fit my style and will share them with you to inspire you to find your own new art making habit.
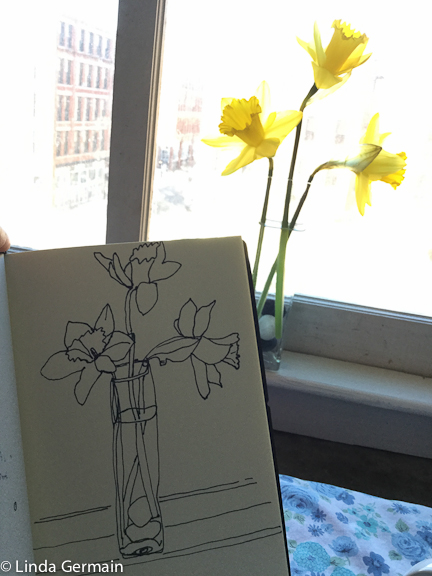
- Draw something I see from the kitchen table. No judgement, and I may not even finish
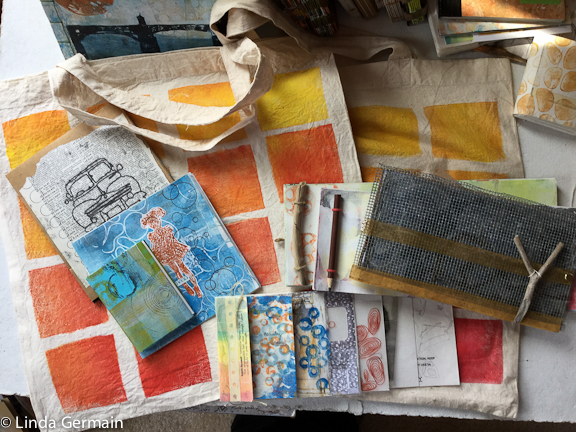
- Pick up a leaf, rock, stick, metal scrap or other found object on my daily walk
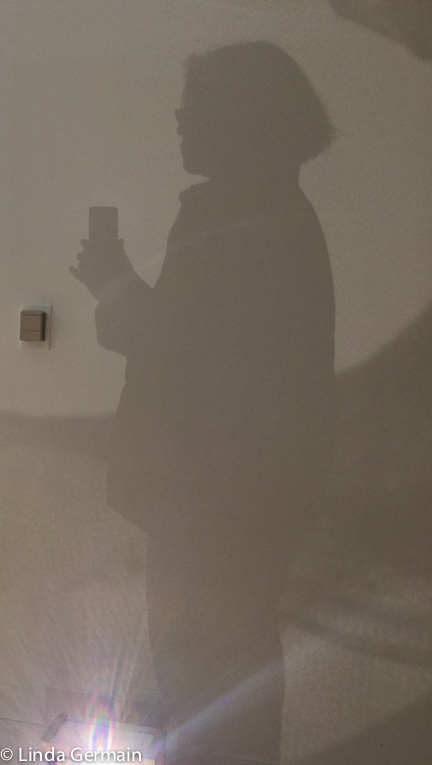
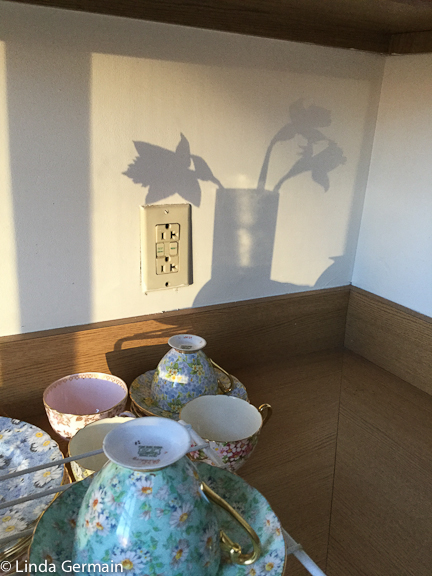
- Take a picture of that early morning shadow that catches my eye
The drawing could become a screen for printing or the basis for a trace monoprint. The found object could be come a stamping tool, a stencil or part of an artist’s book. The shadow picture could be a masking stencil for gelatin printmaking.
By noticing those 3 minutes, I get a little art making in my day. And who knows, it is so simple I might do it 3 times a day. Then the more I do it the stronger my artist’s voice becomes.
If you like this day by day and do it philosophy then you may enjoy taking a printmaking workshop with me. I try to give you small actionable steps to building art making habits.
You are supported and guided to trying new skills and strengthening old ones. This will give you confidence to make the art that is uniquely your. Tell your story!
Check out the workshop schedule here.
