Pinterest and drawing skills – inspired
Yesterday, I got lost on Pinterest looking for inspiration. Be careful! Pinterest can eat up an afternoon.
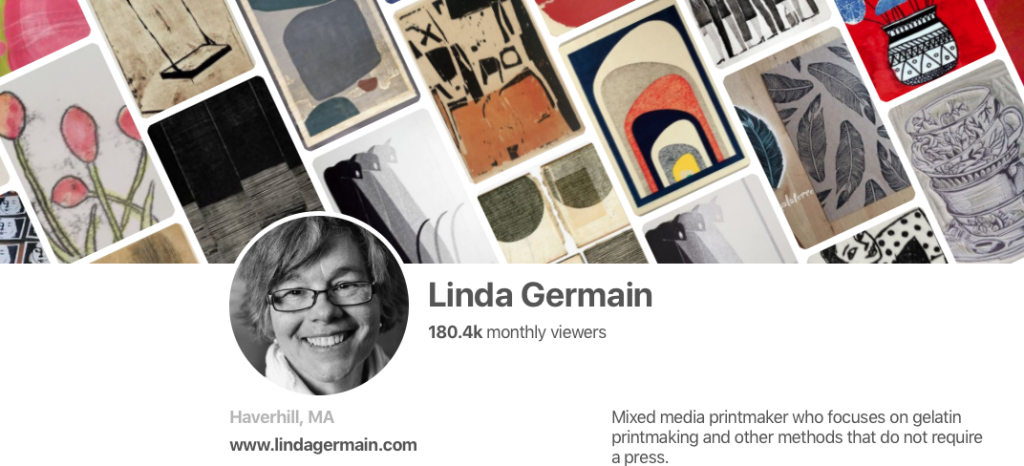
I added lots of inspiration to several of my boards:
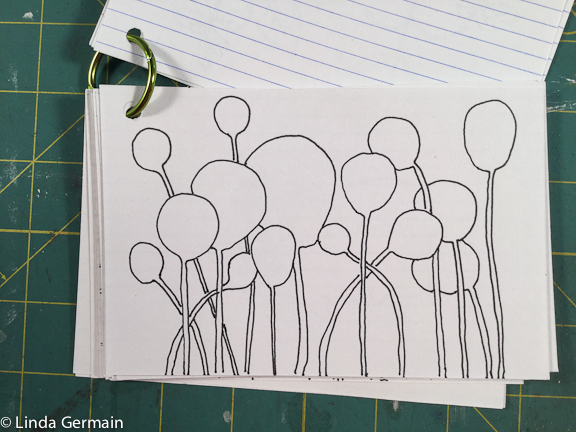
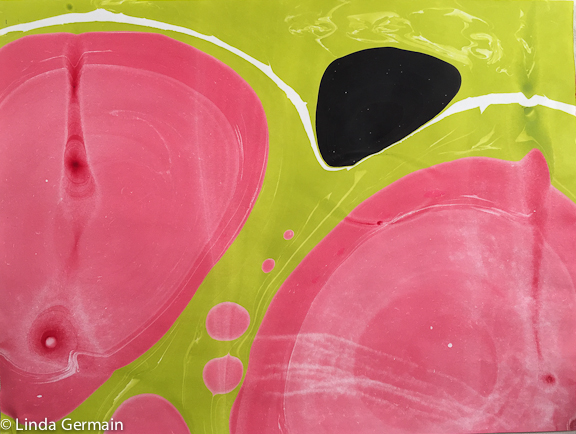
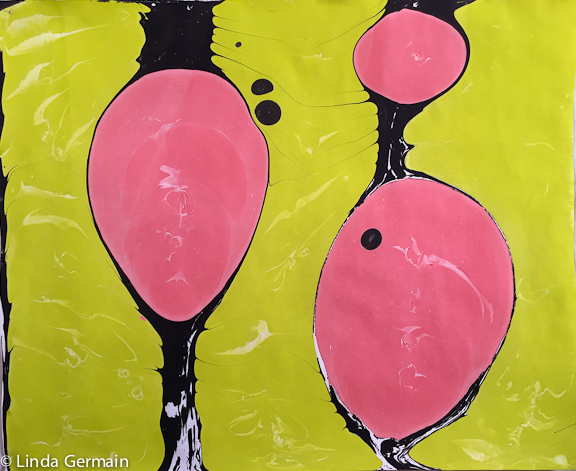
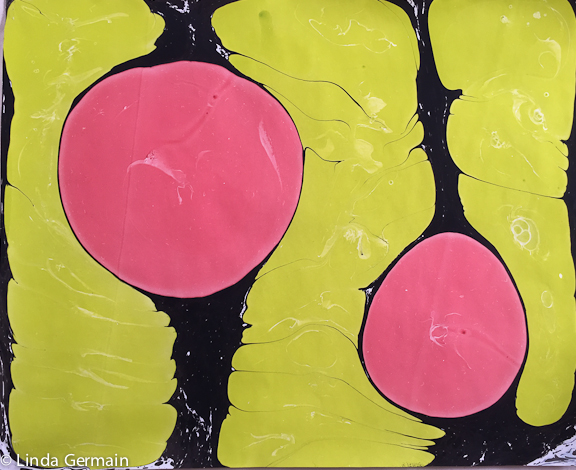
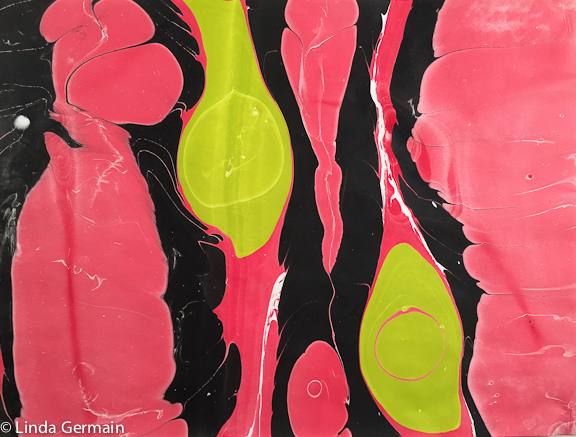
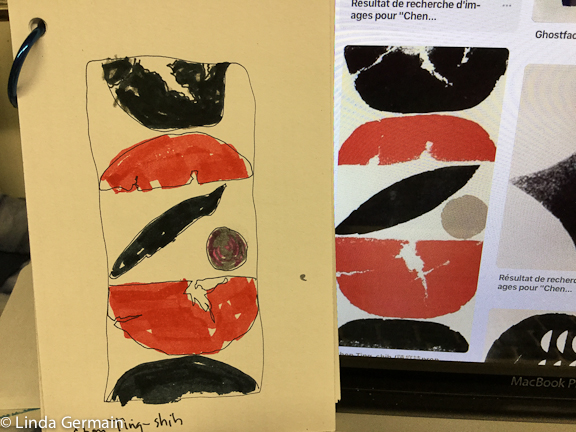
My inspiration went in an unexpected direction. I was drawn into abstract prints with just a few shapes.
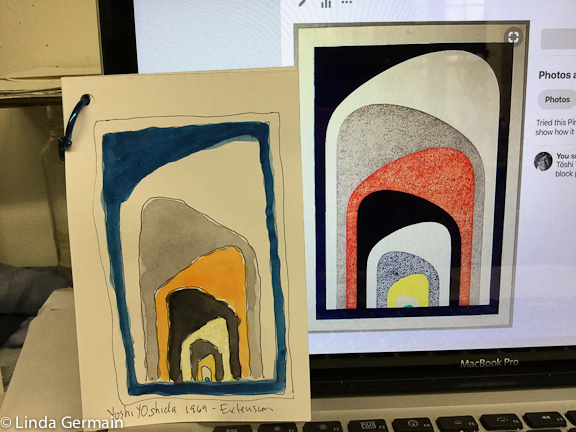
So I decided to do some sketches inspired by prints from some masters.
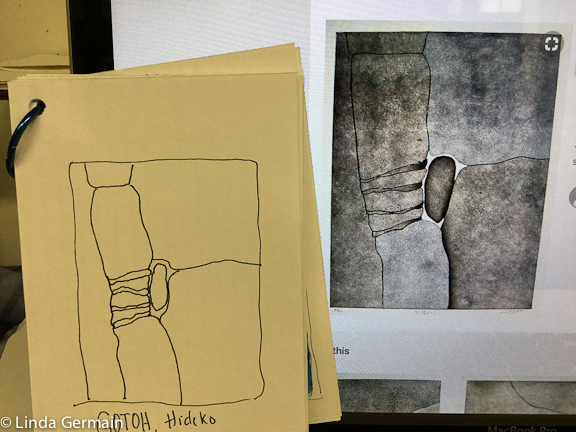
I was hoping to learn what it was that appealed to me. By copying a master art work, I can learn about things like division of space, composition and line.
I felt like I gained permission to play with just a few simple shapes to create a compelling piece of artwork. And these sketches could be a jumping off place.
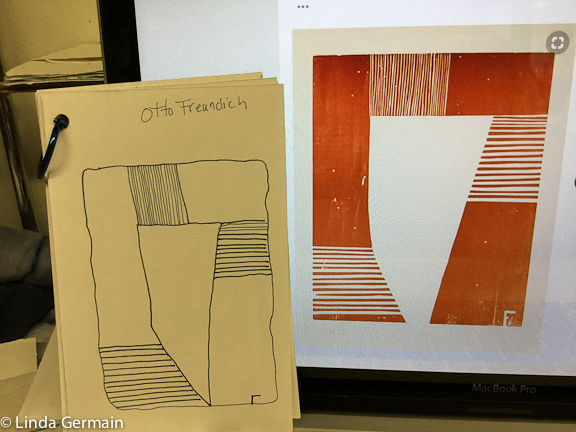
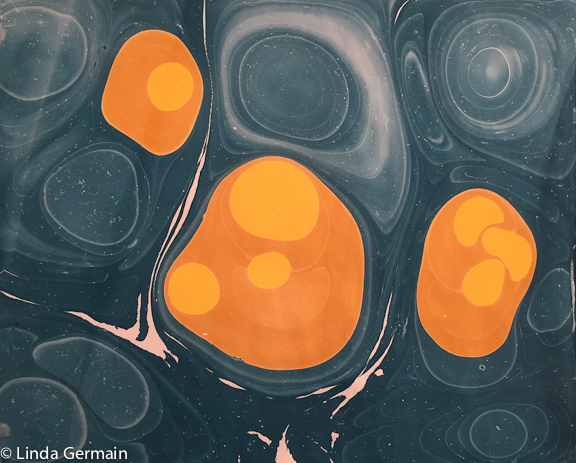
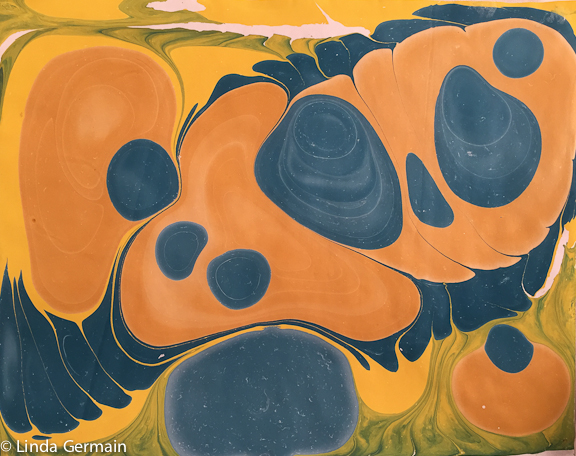
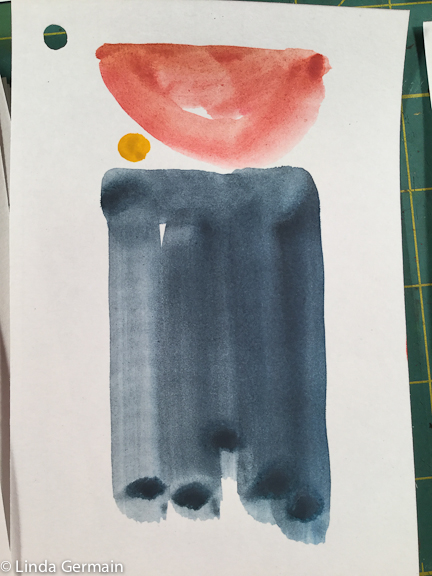
I noticed in this print by Otto Freundich how the lines varied in width and how all the shapes are different sizes. This create dynamic interest. It keeps me looking at the print.
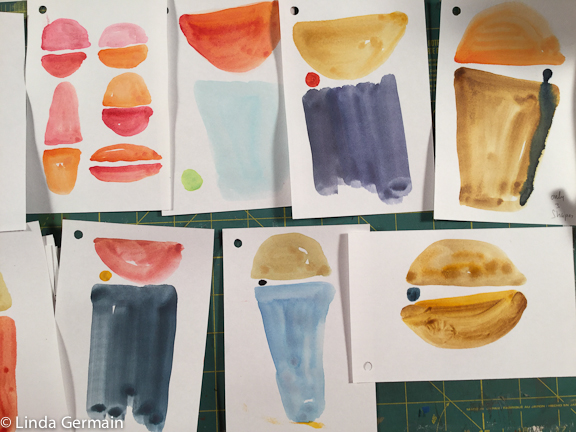
I decided to play with just 3 shapes and make a few watercolor sketches. I was fun! Boundaries and limits can be a catalyst for new ideas.
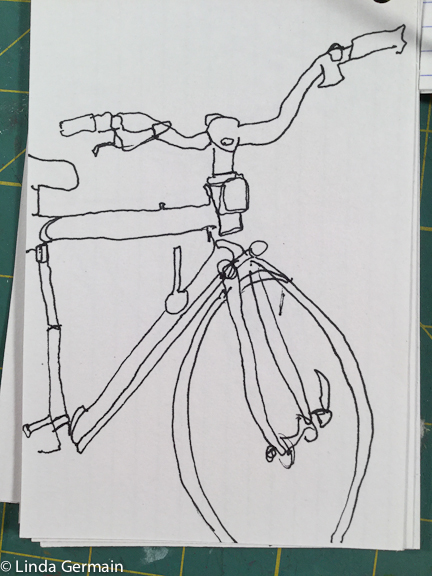
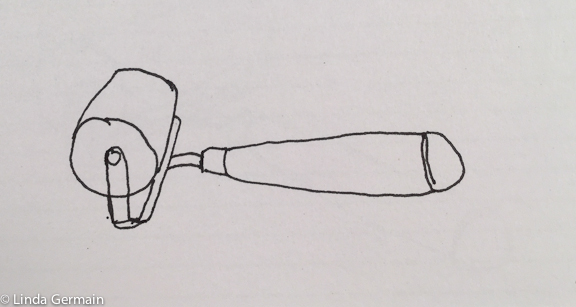
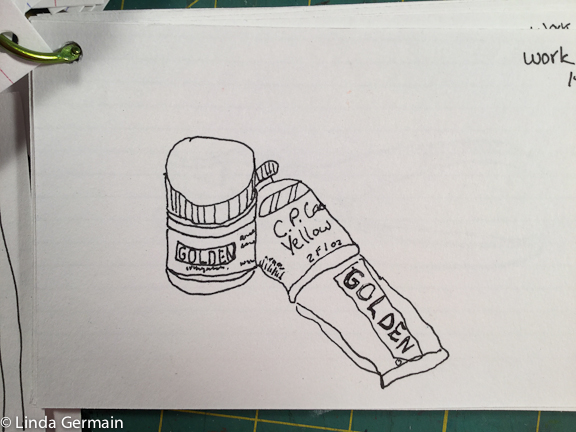
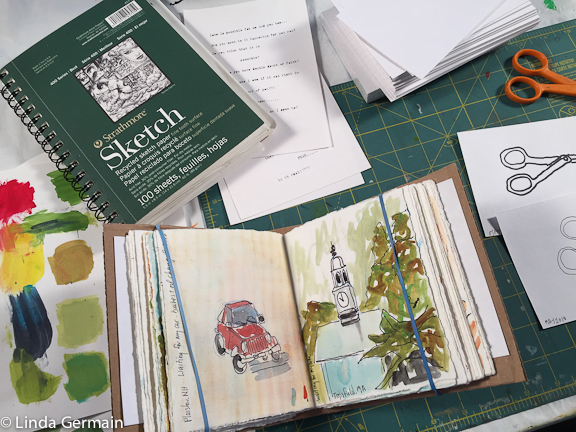
I am really excited about the upcoming class that I am offering, SEE – draw – Print. I have be drawing and trace monoprinting a lot in the last few days.
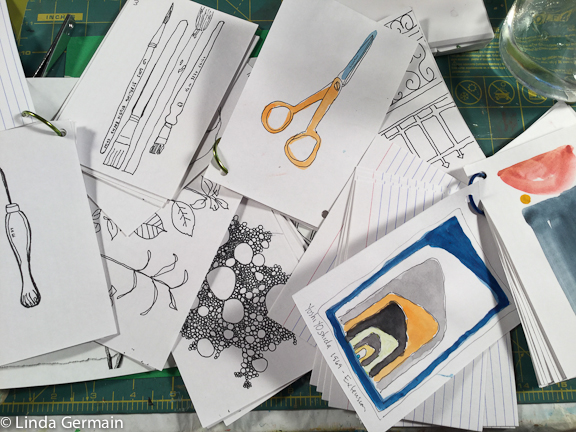
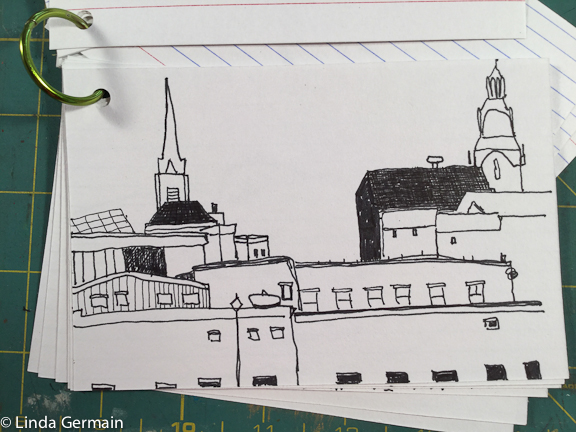
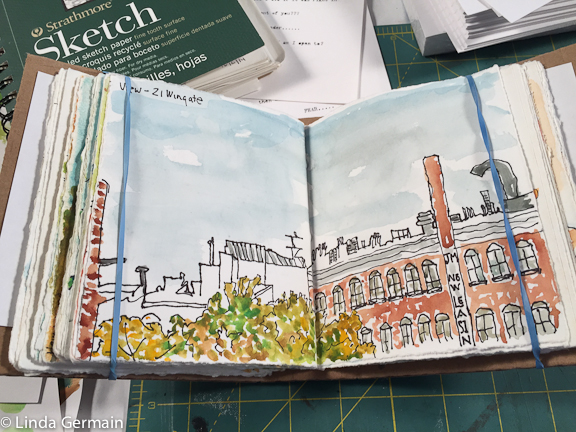
I have been wanting to draw the steeples of my hometown and finally did a couple yesterday.
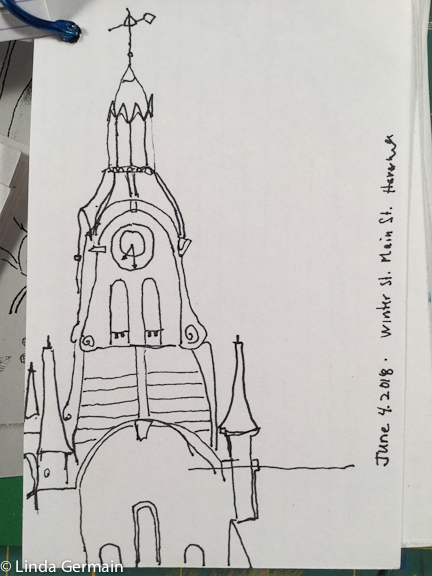
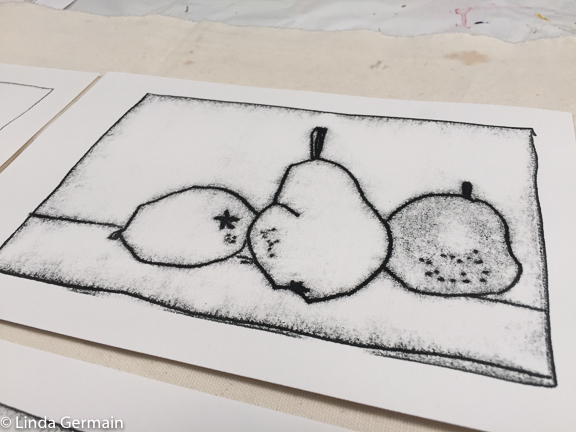
Then I did a trace monoprint of one and added a little bit of watercolor.
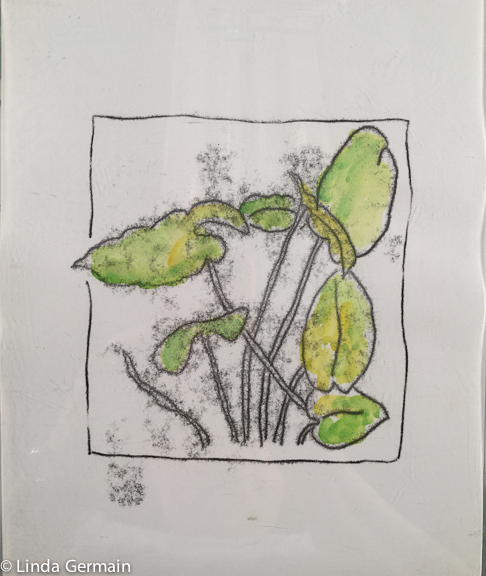
If you want to explore you drawing skills and create some trace monoprints then join us in the online printmaking class, SEE – draw – print. Class starts soon. Check out the details on the workshop page.
Pinterest and drawing skills – inspired Read More »