10 Questions about Screen Printing in Home studio

I get lots of questions about screen printing at home and the benefits of using the process. So I wanted to share the answers here with you.

thermo fax screen print by linda germain

1 – What is screen printing?

It is a printing process that uses a “stencil” to control the passage of ink through a screen to create a repeatable image. Stencils can be made with paper, drawing fluid, emulsion and even wax. The stencil blocks out all the areas of the screen except for where you want the ink to print.

2 – Do you need special machines to screen print?

Easy answer is no. I do use my computer, scanner and printer to manipulate my images. I bet you already have a computer and printer.

3 – Do you need a special studio space?

Not really. I have screen printed in my apartment. It is easier if you can claim some space for printing and drying your prints. The bigger you print the more space you will need. But to get started you can use the tables and floor space that you already have.

4 – What tools do you need?

That will depend on what you want to print on and the kind of design that you want to create. But at a minimum you can get started screen printing with just:

  • An embroidery hoop
  • Tightly woven curtain sheer
  • Paper, scissors and tape
  • ink (acrylic paint might work in a pinch)
  • old credit card
  • Check out my free tutorial below using just these materials.

5 – What kind of ink do you need?

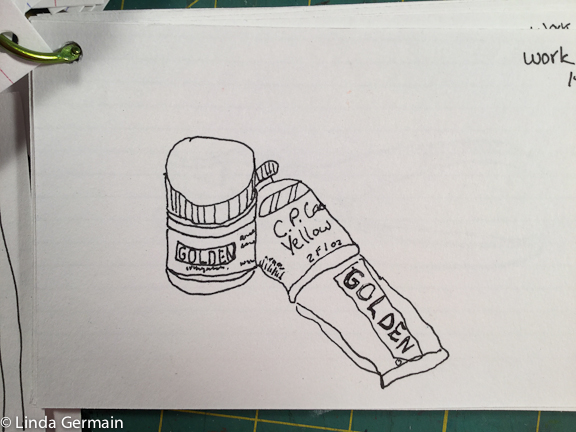
It is always best to get the ink that is designed for the surface that you are printing on, so acrylic screen ink for fabric or paper. The ink should be smooth and not runny. If the ink is too fluid too much will go through the screen and you may have a blobby mess. In a pinch with a “disposable” screen and working quickly you could use acrylic paint, but it is not ideal. There is a screen print medium that is available to mix with Golden acrylics

6 – Is the screen print process toxic?

It is only as toxic as the inks that you choose to use. So if you use acrylic inks the process is pretty clean.

7 – What can you print on?

In a home studio the easier things to print on are paper, fabric, wood and cardboard. It is possible to print on ceramics and glass if you are familiar with those techniques.

8 – Do you need to know how to draw to screen print?

I would say not necessary. You can create wonderful geometric images and patterns, you can manipulate photos, use can use text and even copyright free clip art. So don’t let the thought that you can’t draw stop you from trying screen printing.

9 – Does screen printing take a lot of time?

That will depend on your project and goals. Screen printing does require some planning, ink management, and clean up, so it is not as spontaneous as monotype printing. I would break that project into 3 steps, image design and stencil creation, printing and clean up. So a small run of a simple design, in one color, on paper could be done in an afternoon.

10 – What are the benefits of screen printing? And why would you choose the process over another?

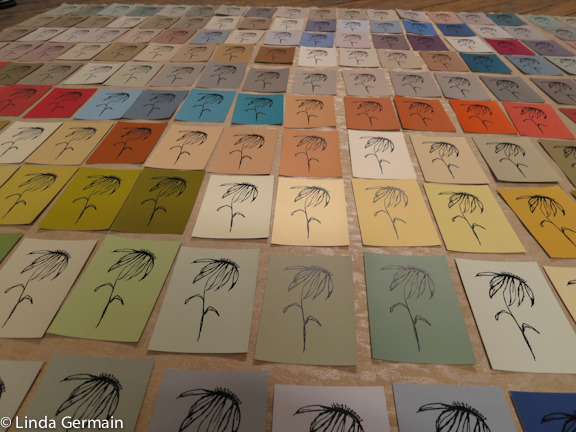
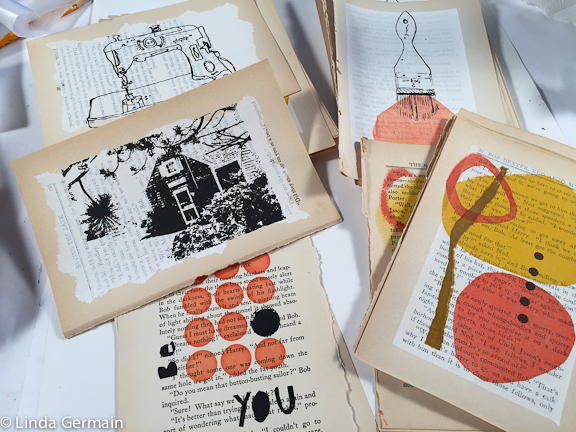
I choose to screen print when I want to print a lot of the same image, whether it be yardage of fabric or multiples of cards. I would use screen printing to print very detailed images, like high contrast photographic designs that I could not obtain any other way without a press. Screen printing is also great for printing text.

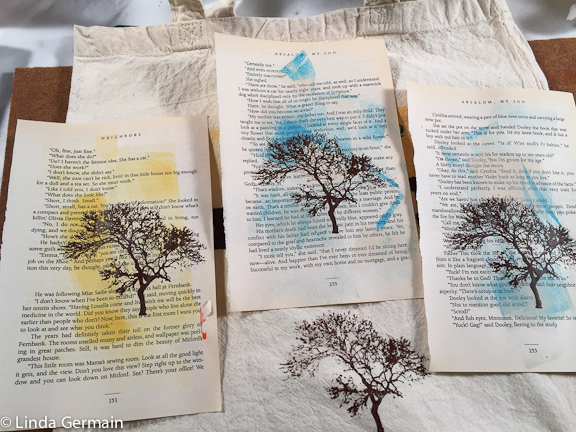
screen print on paper

If you would like to explore screen printing, then join us in the online printmaking class, Pulling Screen Prints. Next class starts Monday, Sept. 9th 2019. Read the details on the printmaking workshop page.

Get a FREE easy screen print tutorial
You can be screen printing today!

Join today and get notice of future classes.

You will also get weekly emails about printmaking, tips, tools and classes.

10 Questions about Screen Printing in Home studio Read More »

Print Day in May – 5th a global event

Do you have plans for May 5th?

Join the global celebration of printmaking.

Please share your work and help spread the word by through Facebook, Instagram or Twitter with the hashtags #printdayinmay or #printdayinmay2018.

Please visit us on Social Media:

Facebook Group here

Facebook –@printdayinmay
Instagram– @printdayinmay
Twitter– @printdayinmay

What will you be printing? I am not sure but I am excited about the day. Share this info with all of your printmaking friends.

Print Day in May – 5th a global event Read More »

Screen Printing T-shirts in a home studio

It is very possible to print t-shirts in a home style studio. You just need a little space planning.

screen printing t-shirts at home

You might want to print a bunch of shirts for a party or fundraiser or to share your message. You can use very simple cut paper method, as I did in the gecko and squares printed shirts above.

emulsion screen printed bicycle t-shirt

If you have a delicate drawing or intricate design then it is easy to use pre-coated emulsion screens, like those found at Ezcreenprint.

If you are ready to explore screen printing t-shirts and much more, then join us in the upcoming online screen printing class, Pulling Screen Prints.  This is a 4 week class that creatively explores several different methods of screen printing on paper or fabric.

Read the details on the printmaking workshop page. Please email me if you have questions.

Screen Printing T-shirts in a home studio Read More »

DIY Screen Printing drying system

Screen printing can take up a lot of space if you are pulling multiple prints. And those prints need a place to dry.

I have used the floor.

screen print - peaceful

I have use table tops and sheets of foam core for horizontal drying.

screen prints drying

And recently I figured out a quick, effective system that you can use in your home/studio. It is a modified clothes line made with a long piece of cord and bull clips.
drying system for screen printing in home studio

In this quick video I show you how to wrap the cord around the clip handles to hold it in place, when the cord is stretched and tied between two sturdy items.


You can tie the the print drying line between stable shelvesw or two heavily weighted chairs. (Make sure you tie the ends of the cord to something that will not fall over with the weight of your prints.)

If you would like to explore printmaking, check out the current course offerings.

DIY Screen Printing drying system Read More »

9 surprising tools for screen printing

Screen printing is great for projects where you on want to make a lot of print of the same image.

screen printed kitchen towels

You may even have enough supplies at home to get started with a screen printing project.

9 everyday items that you can use in simple screen printing projects

9 screen printing tools

1 – Tightly woven curtain sheers

You can use curtain sheers instead of regular screen printing film/mesh. Just remember big loose weave means more ink will pass through the design. So get the tightest weave you can find at the thrift store.

2 – Plastic containers

These are essential for balancing screens and inky squeegees on when you are moving from one print to the next. Go find some in the recycling bin. You will be happy that you did. Ink management is crucial when screen printing.

3 – Small round lidded containers

This type of container is great of saving little bits of ink. Sometimes it is nice to have a little ink in a little jar for a quick test print. Round containers are better than square because ink will not get stuck in the corners.

4 – Bondo scrapers

You can find these at an auto parts store. The Big Box hardware stores may have them too. These plastic scrapers can be used in place of a squeegee. They come in different sizes, which is nice because you can pick the size you need for a specific design/screen. You can even cut them to size.

5 – Old gift cards

Used up plastic gift cards can be used as a squeegee too. These are great for small designs.

6 – Cosmetic sponge

These small dense sponges are great for tiny designs. They are used in place of squeegee.

7 – Embroidery hoops

I love these in place of the standard frame. Combine these with the a piece of curtain mesh and you have yourself a very quick screen. You can use these with paper stencils, drawing fluid method and screen filler methods and you will have a reusable screen. And no scrubbing to remove materials to reclaim the screen. Less work, more printing.

8 – Mod Podge

I often struggled with screen filler. It was messy and always seemed to be too thick or too thin. I recently found that I could use Mod Podge instead. BUT make sure you use this with screens that do not need to be reclaimed. You can not wash out the Mod Podge. So this works great with embroidery hoop style screens.

9 – Big Fat waxy crayons

I use these crayons to make rubbings. This creates an experimental resist style of screen.

If you are interested in learning more about screen printing with these types of supplies, then join us in this year’s session of Pulling Screen Prints, the online printmaking course.


9 surprising tools for screen printing Read More »