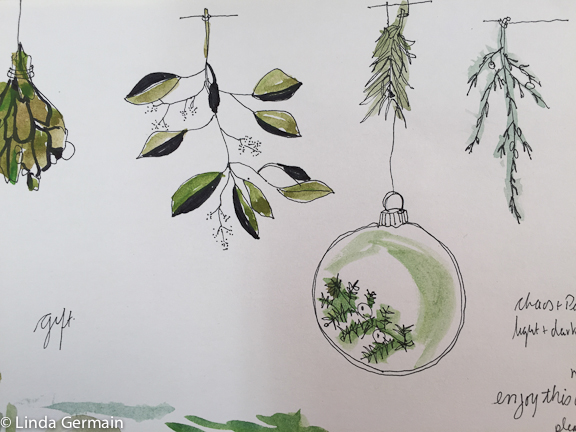
Use tools and supplies that allow creative experimentation
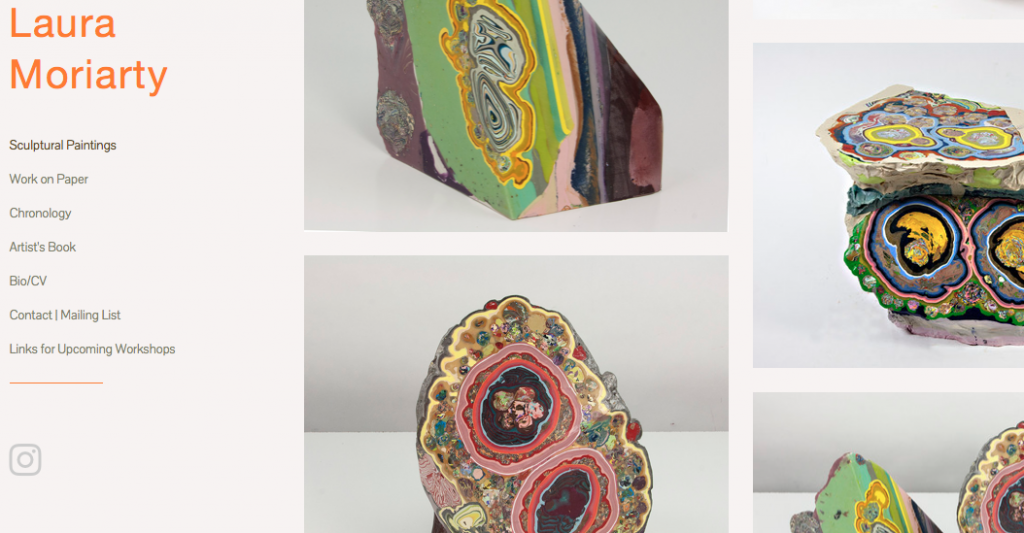
One time I took an encaustic class and the teacher was known for using encaustic paints to create large 3d sculptures. And I wondered how she could possibly afford to work that way. Encaustic paint is expensive! In my mind that method of working would never be available to me.
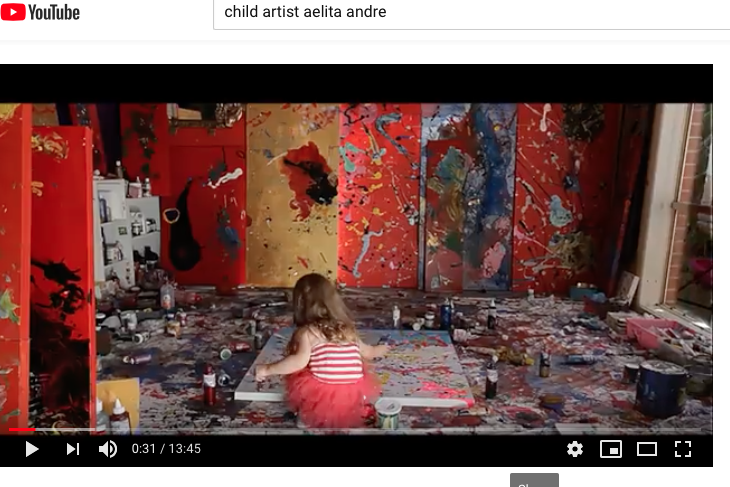
Another time I found a video about a child who is known for large scale abstract paintings and thought to myself, “What if we all had the support and freedom to use all that paint?” Again I was limited by my belief that the art supplies were too precious to be use with abandon.
I am not saying that I wished my work was like either of these artist’s. My wish was that I could work as freely as they seemed to and to not be limited by expense or scarcity of supplies.
In many ways I think I have been able to adapt my process and give myself the freedom to create just as they do.
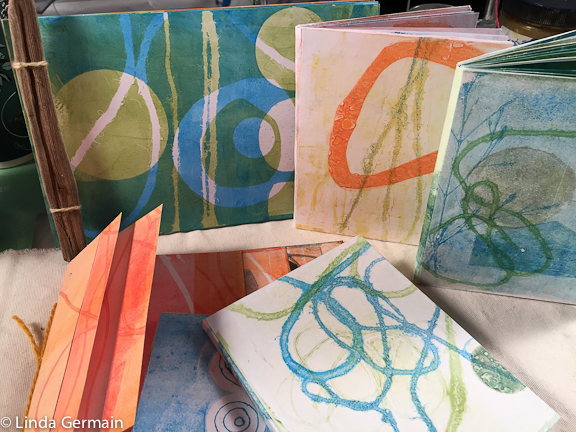
I use papers and inks and paints that are not precious to me. This gives me the space to make lots of “learning” prints. It gives me the opportunity to fail, discover and learn.
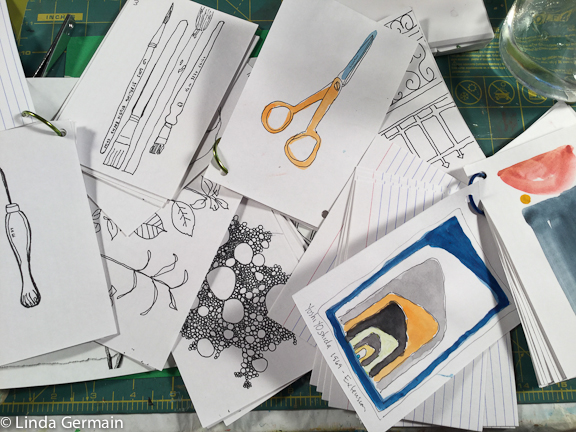
My most recent freeing art supply is index cards.
I use index cards for:
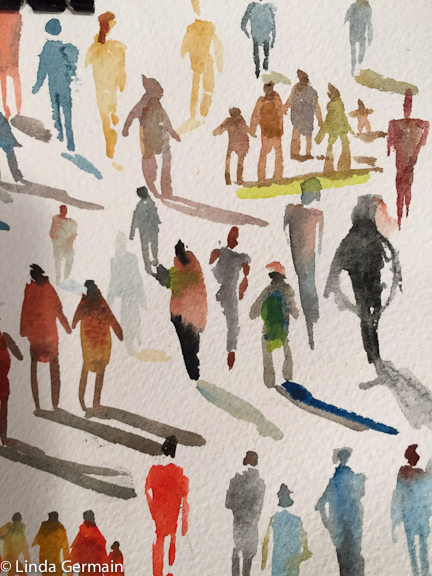
- daily sketches
- sketch book on a ring in my purse
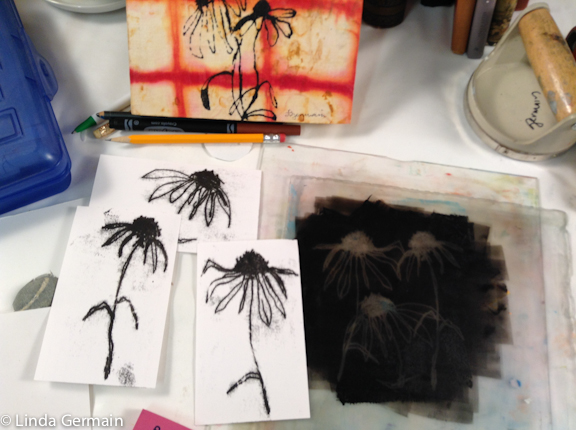
- test prints
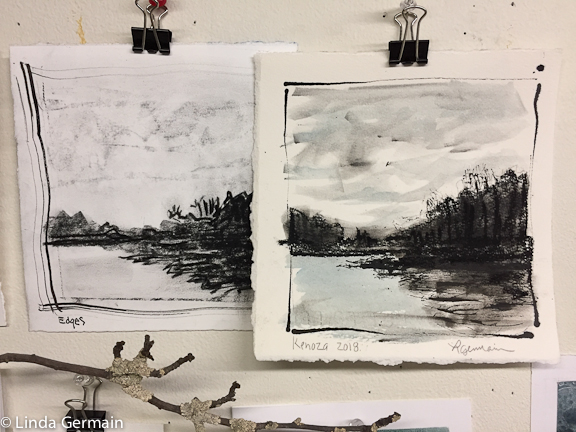
- landscape prints
- relief prints
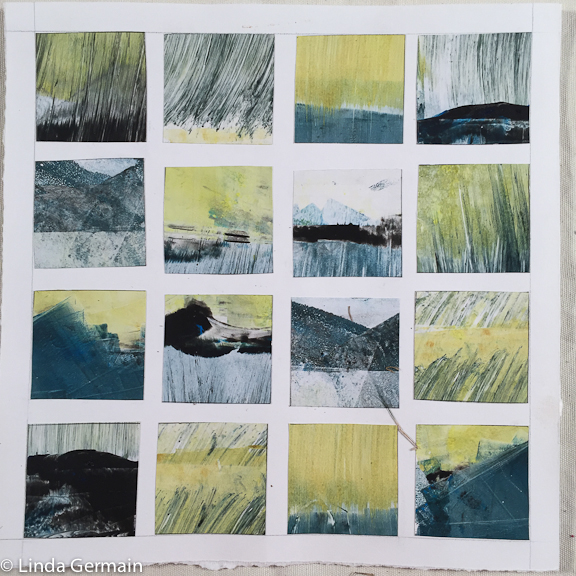
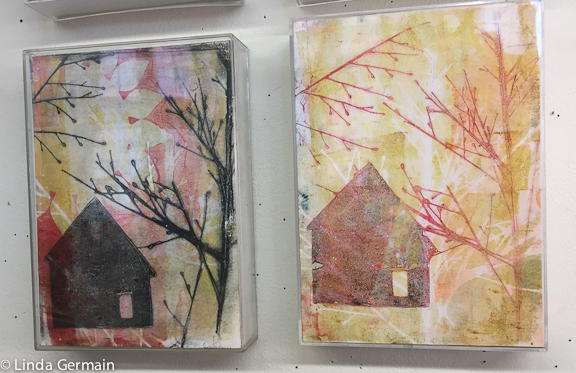
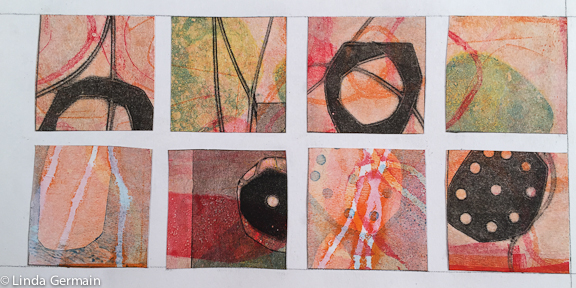
I did a series of landscape prints and then cropped a few into this thumbnail study. Love it!
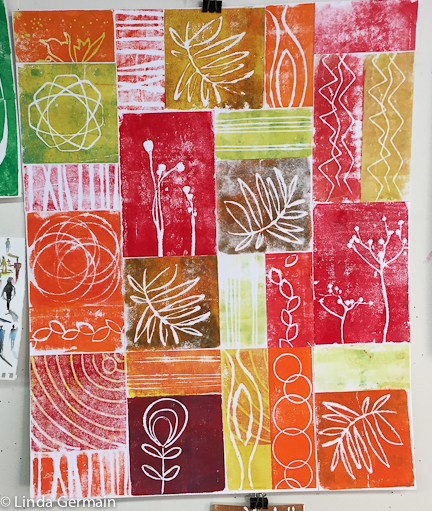
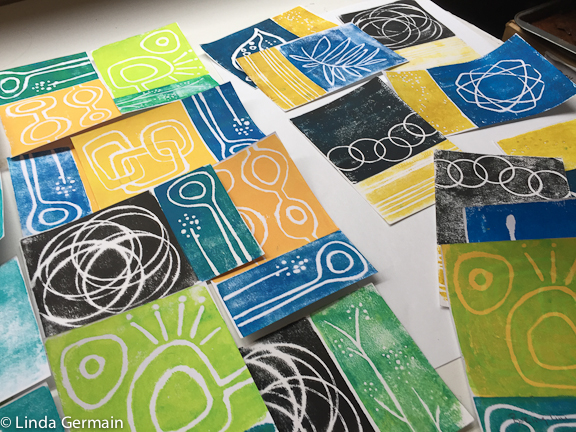
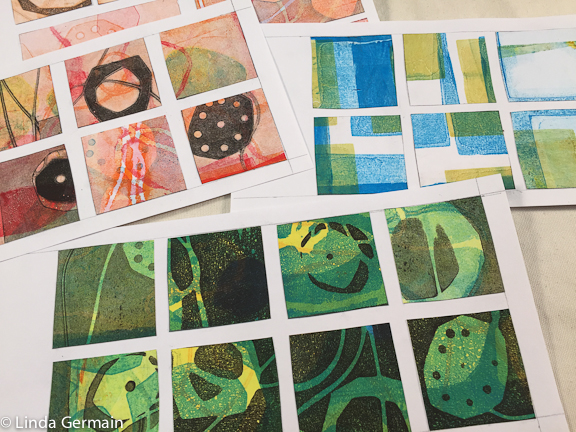
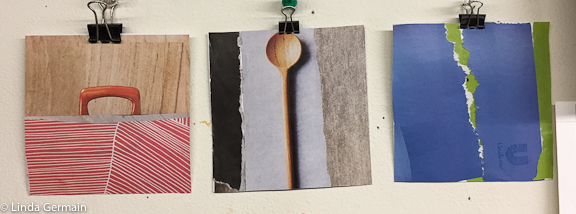
These are test prints from some new foam relief prints. I combined them into a larger print and I am pleased with the presentation.
The index card is the perfect size for sketches and I just slip them onto a binder ring and they are easily organized.
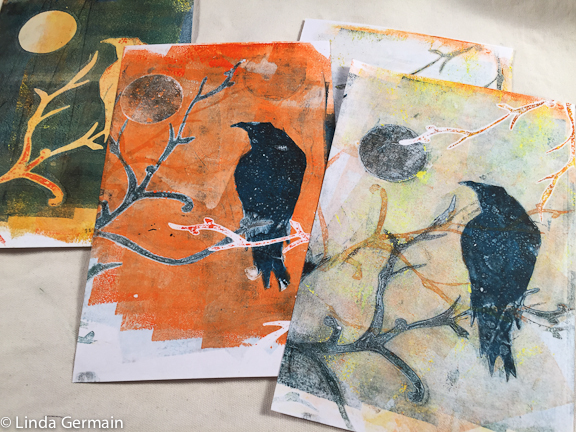
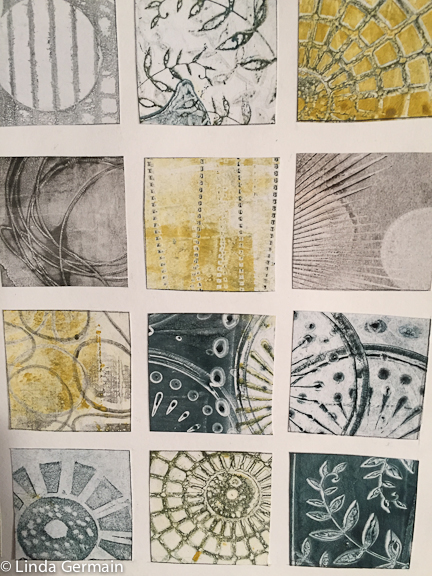
Here I did some quick trace monoprints on a couple of index cards.
What supply could you use to support your own creative expression? What choices could you make to give your self the freedom to create from your unique voice?
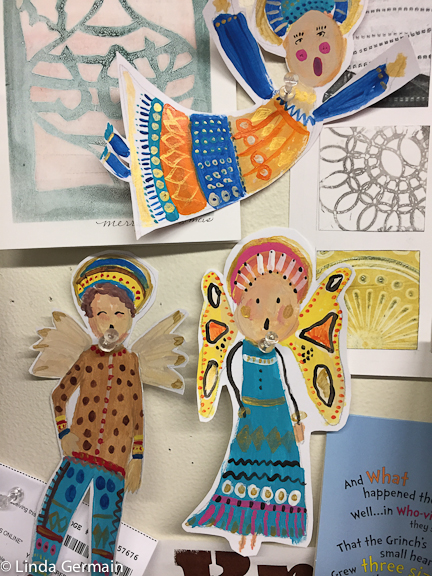
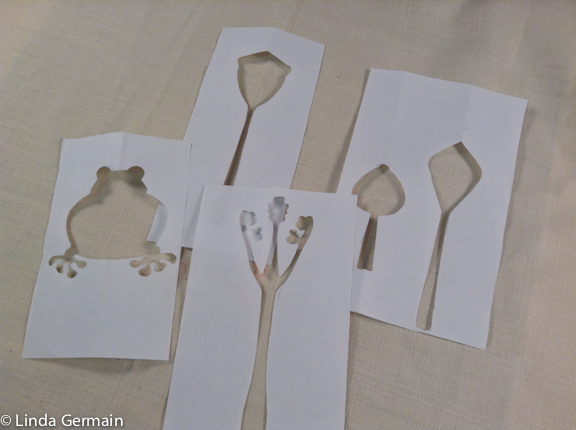 I even make quick stencils from index cards.
I challenge you to make a choice or decision today that supports your creative freedom!
Use tools and supplies that allow creative experimentation Read More »
