Screen Print to make a lot of impressions
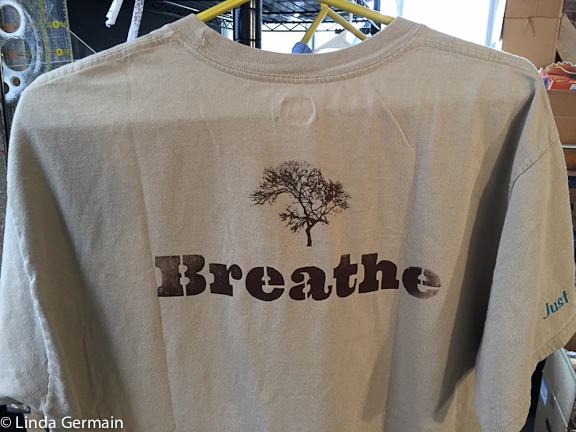
Most folks are familiar with screen printing. We all have screen printed t-shirts and bags and things.
The basic idea is to attach a design to a finely woven screen and then pull ink through the design.
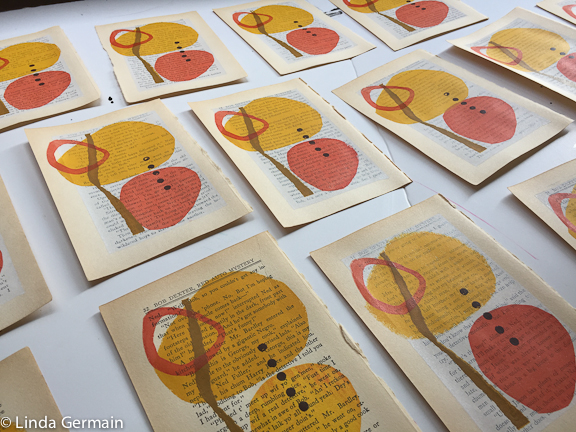
If you have the right inks and screens you can print on paper, fabric, ceramics, glass, wood and more.
The design is a stencil and can be made from paper, contact paper, screen filler, acrylic paint or light sensitive emulsion.
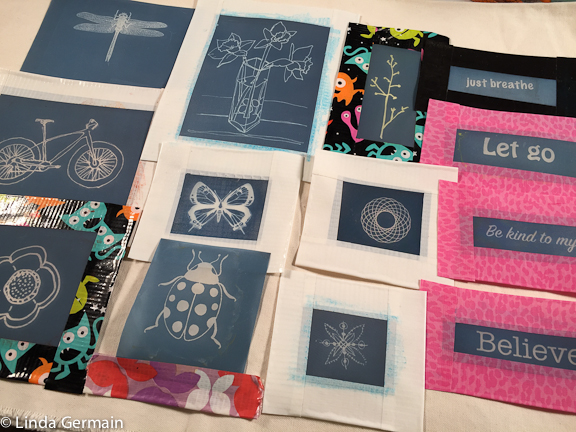
Screen is usually stretched on a frame, but it can be framed with duct tape, as with EZscreens or stretched on an embroidery hoop. Get a free tutorial on making paper stencils and embroidery hoop screens below.
Join today and get notice of future classes.
You will also get weekly emails about printmaking, tips, tools and classes.

We will:
- stretch screens
- print on paper or fabric
- use paper stencils
- explore drawing fluid and screen filler type stencils and
- make emulsion based screen with pre-coated screens like the EZScreen.
Get support from an online class. Check out the current offerings on the printmaking workshop page.
Screen Print to make a lot of impressions Read More »


