Cleaning is part of making
I am almost afraid to admit that, I just came to the understanding that cleaning up my tools and workspace is part of the process of making.

I resist cleaning and some what resent the time that it takes to puts tools away and organize them. But this attitude is not helping me.
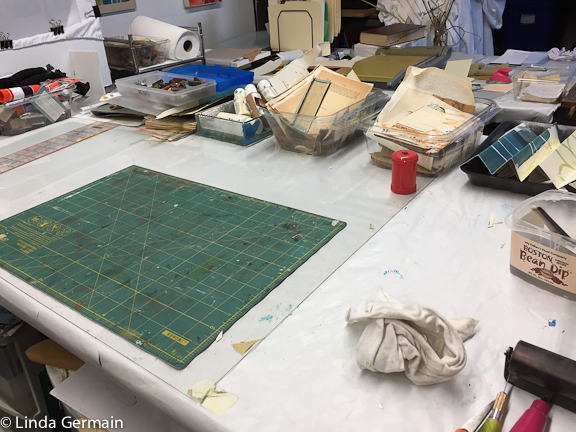
So I am trying to embrace the idea that “cleaning” time is just a valuable as the making time. Maybe I can even make it fun. 🙂 Maybe this new attitude will enhance both the making and the cleaning parts of the process.
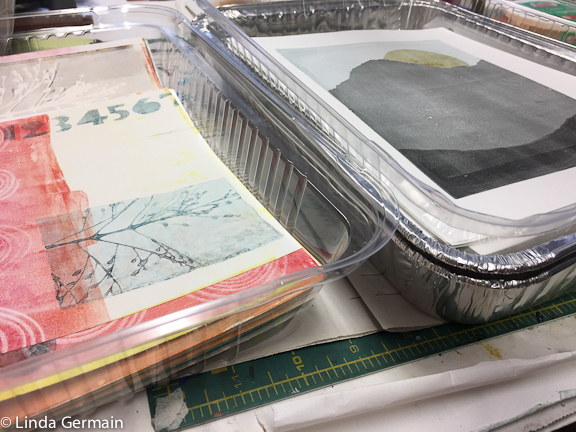
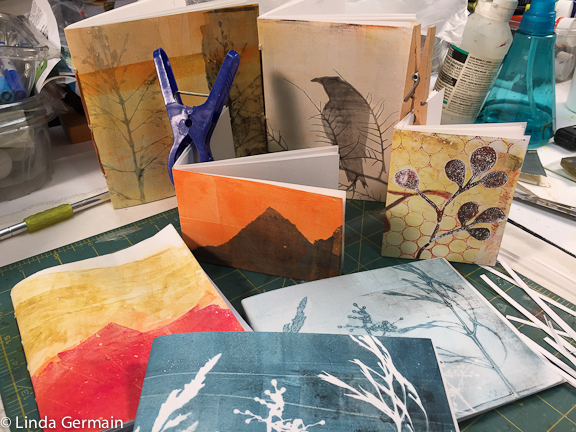
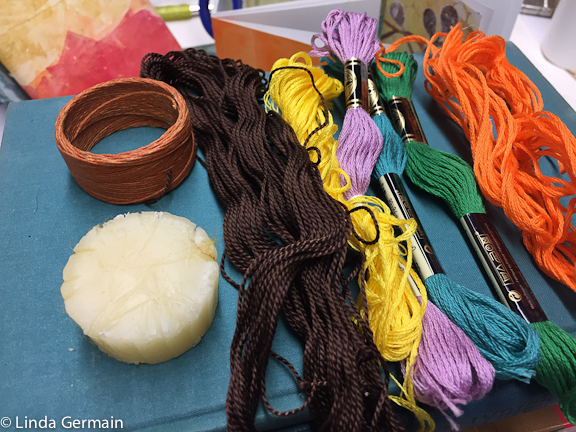
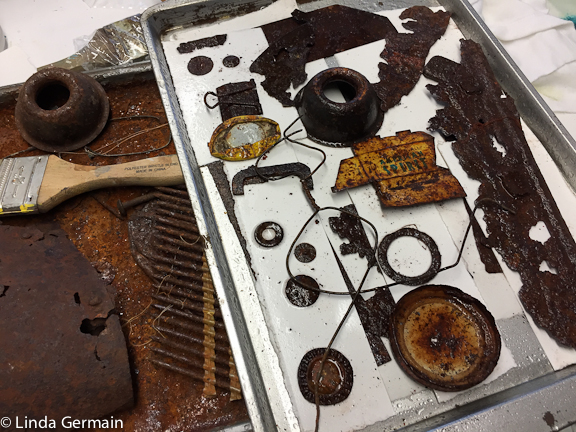
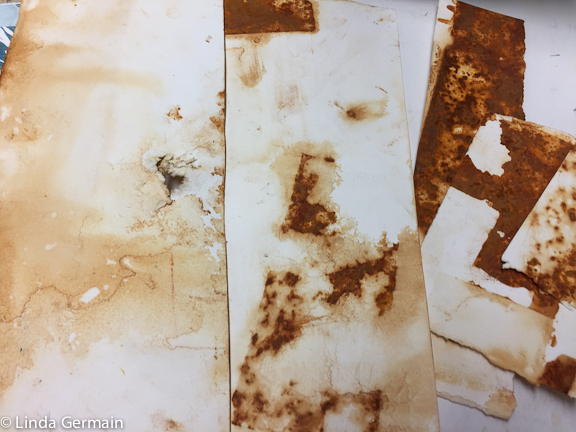
I have been looking for inexpensive storage ideas. I found that disposable cake pans/covers work nicely for prints in progress. They are stackable, which means they take up less space.
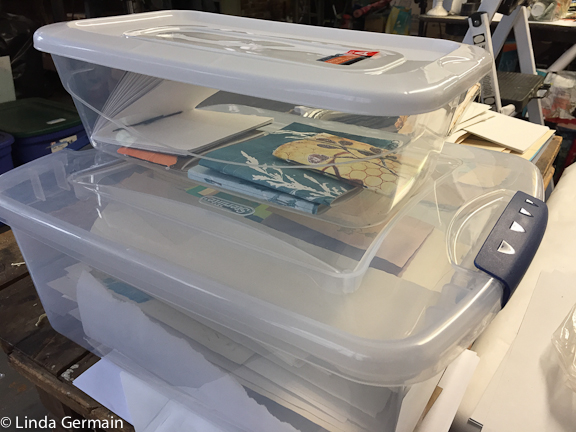
I got a few see through boxes for longer term storage.
I wonder do you have parts of your making process that you enjoy and others that you resist??
How can we enjoy more of the process of making?
Enjoy –
- Idea gathering
- Experimental mark making
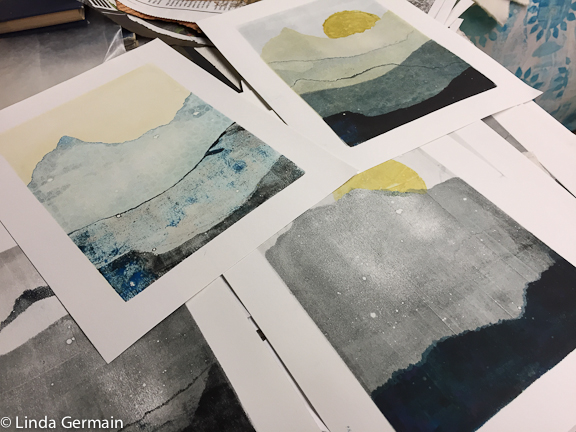
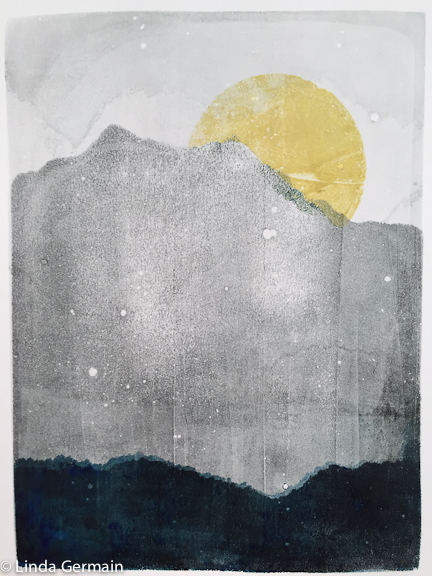
- Creating a finished piece
- Tool gathering
- Space organizing
- Cleaning and starting again
Happy printing!
PS – Join us in 2020 for the Mixed Media Retreat! – Get the details on the workshop page.
Cleaning is part of making Read More »