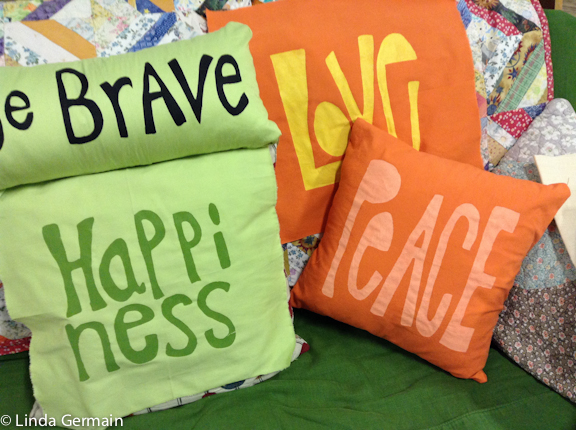
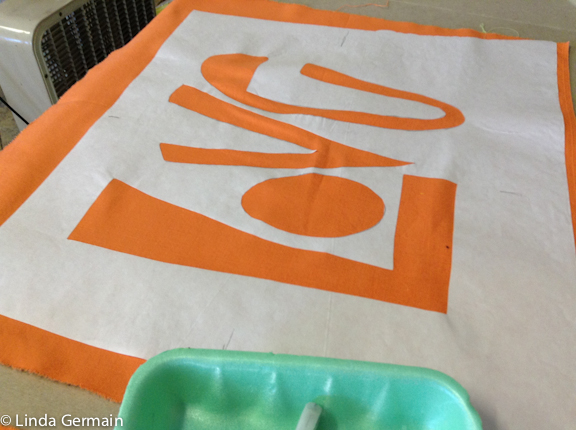
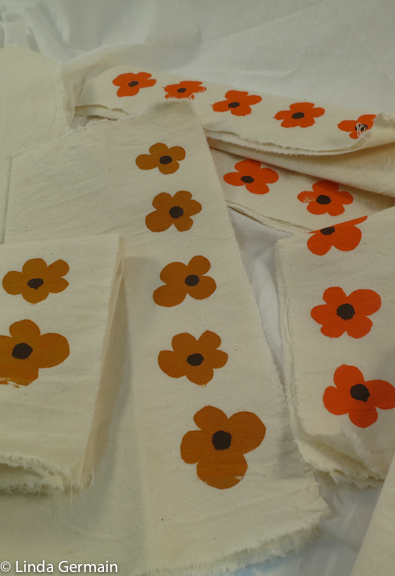
This past week I was making hand printed fabric pillow covers. It was fun to hand draw the text on to freezer paper. Then cut out and iron on to the fabric.
I recycled the pillow forms from local thrift stores and Extra’s For creative Reuse. The fabric was a table cloth and curtain panel.
Freezer paper can be ironed on to the fabric to be used as a one time stencil. It is easy to cut too.
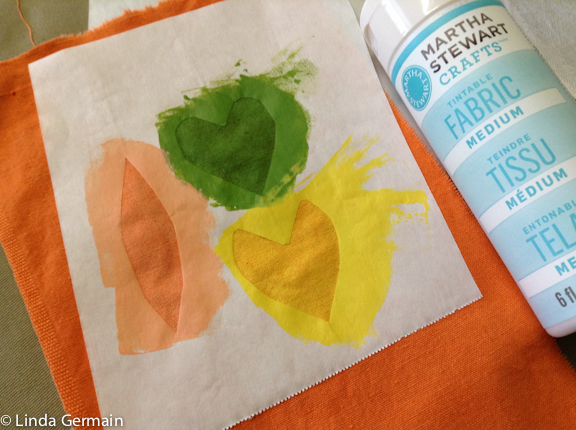
I did quick color tests on a scrap piece of fabric. I think that all the colors work. It just depends on the message and effect that I want to create. Subtle colors are good to use at the beginning because they hide mistakes.
The next class that I will be offering is Monoprinting Fabric. Check out the details and mark your calendar.
Want to Hand Print Unique Fabric?
Join today and get notice of future classes.
You will also get weekly emails about printmaking, tips, tools and classes.
As mixed media artists we love lots of different media and methods. We love to explore and combine tools and materials in a myriad of ways. That is what makes our art work unique.
But for me that love of “everything” finds me wandering around my studio from one idea to the next and never quite finishing anything.
I made a decision that is helping me to complete some work. This one boundary actually gives me just enough structure to create some freedom to play.
This is the one boundary that I have given myself with my mixed media printmaking projects:
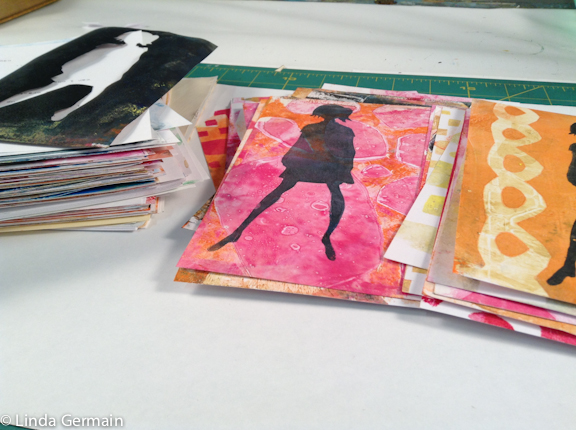
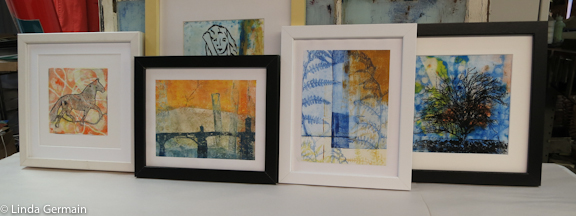
I am working in a fixed size, 5″ x 7″.
This gives me freedom to play and low risk because is it just an inexpensive piece of paper.
It also frees me up because I know that when I do finish the piece it will be a easy to frame standard size. Finishing and framing is often a hurdle for me.
I now know that any stencils that I cut will be cut to fit on that 5″ x 7″ paper.
What about you? Do you use boundaries to set yourself up for success?
I am in my little art world and think that everyone knows what I am talking about when I use words like stencil, monotype, and gelatin plate printing.
Not True!
So I am here to demystify some of the art terms the I use everyday.
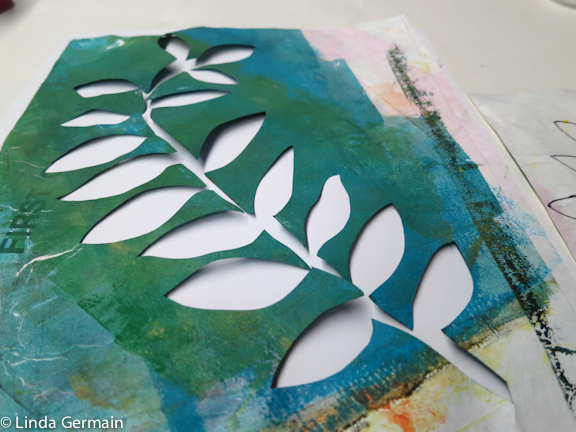
Stencil – A cut out design, through which you “push” ink to make a print or impression.
traditional stencil used to print a design – Linda Germain
Stenciling – gently applying ink to a surface through the hole in a cut out design. Usually ink is thinly applied with a brush or sponge.
(example below )
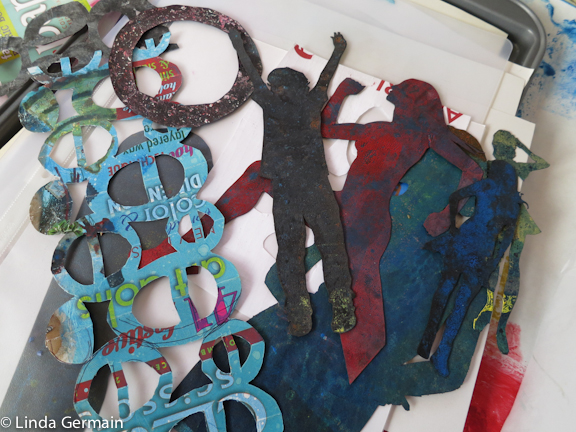
Masking stencil – is a cut out shape the block the transfer of ink to the paper or fabric or other printing surface.
(examples below)
Print – is an impression, mark that is made under pressure. It is an indirect mark that creates a design.
(example below)
detail impression
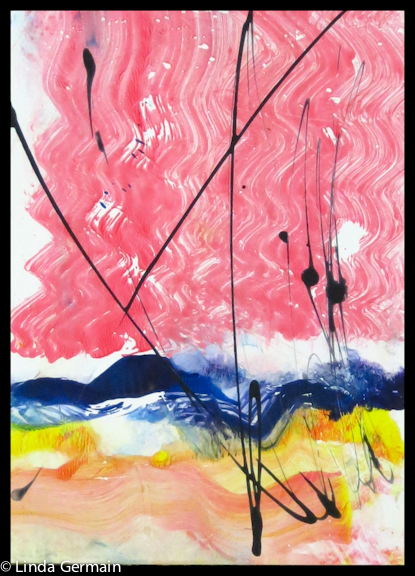
Printmaking without a press – was of printing that don’t require a press, types include, screen printing, relief printing, stamping, stenciling rubbings, and gelatin plate monotype printmaking.
(Example below is a relief print)
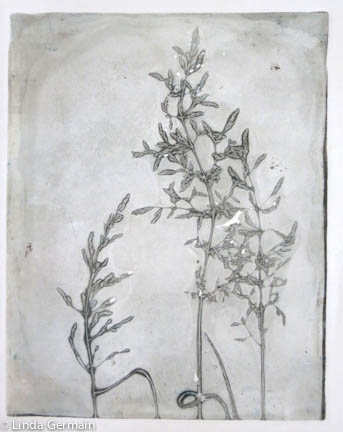
Monotype – is a one of a kind print that is made without some sort of repeatable matrix/design.
(example below)
painted monotype on glycerin plate by linda germain
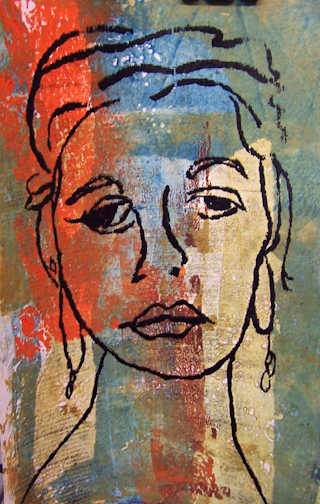
Monoprint – is a one of a kind print that is made with a repeatable matrix/design (i.e. an etching or block print is primary part of the print with extra one of a kind marks)
(example below the face is a screen print that can be repeated)
Drawing Fluid method screen print over brayer marks
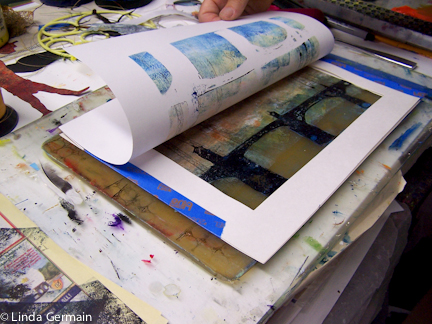
Gelatin plate monotype print – one of a kind print that is made by transferring ink from the surface of a soft, spongy plate of gelatin to paper with hand pressure.
(examples below except the tree on the right is a Thermofax print on top of a gelatin plate print)
Print in process on the gelatin plate
Print in process on the gelatin plate
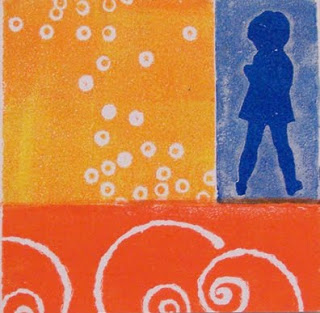
Screen printing – process where the stencil design is attached to a screen with very fine mesh. Then ink is pulled across the tight screen with a squeegee and the ink them goes through the tiny holes onto the paper, fabric or other printing surface.
(examples below)
Thermofax Screen Printing – A Thermofax machine is an old heat based type of copy machine. It can create small detailed designs to be used by artists and crafter. The beauty of this method is that photographic images and detail drawings can be converted into a screen in a matter of seconds and the results are reliable. The way it works is that a carbon based drawing is sandwiched with the emulsion coated screen and run through the machine. The heat of the machine, melts the emulsion and creates the stencil. The machines and roll of emulsion are expensive. But you can find Thermofax screen sellers all over the internet. They make the screen for you and send it to you. I have a kit of 8 screens and the how to get started videos that you can buy.
Stencils are the foundation of all the printmaking that I do. Check out the video.
I use stencils in 3 different ways:
Traditional stencil – push the ink through a hole in the stencil
Masking stencil – where the stencil blocks the transfer of ink and
Combined with the Gelatin plate I use the stencil to transfer the ink to the plate
I am so excited to be offering the new Make Stencils Workshop. It is an online printmaking class in which we will be transformed from a store bought stencil user to a stencil artist, developing your own images and creating one of a kind artwork.
Watch this video and get some idea of images and types of stencils that we will be exploring in the Make Stencil Workshop, the new online printmaking class.
Stencils are the foundation of Printmaking
In this online printmaking workshop, we are going to making lots of stencils, both the masking type and the traditional style. Then you will have tools and imagery for gelatin printmaking, screen printing, maybe for thermofax screens and most certainly for traditional stenciling projects.
The focus of the course is going to be tool creation, plenty of time to practice and then a few projects peppered in.