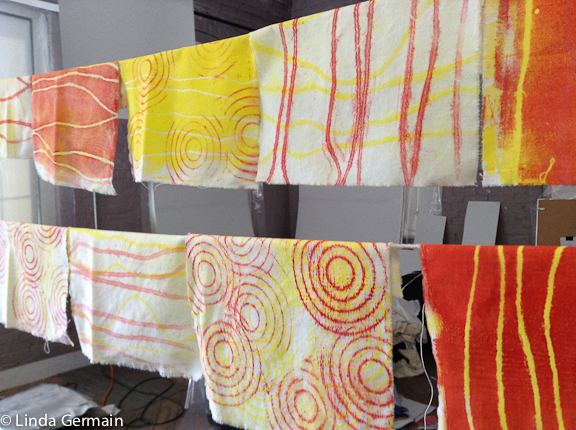
I had this idea to pull 10 8″ square monoprints on fabric and to keep it simple and bold. Well that was the plan.
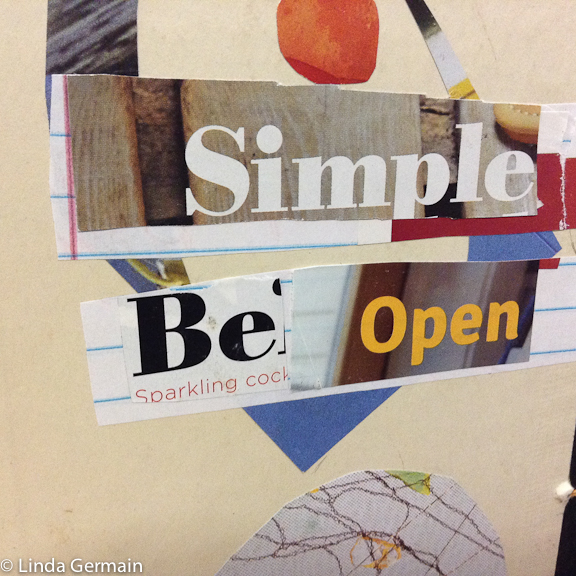
Simple is hard!
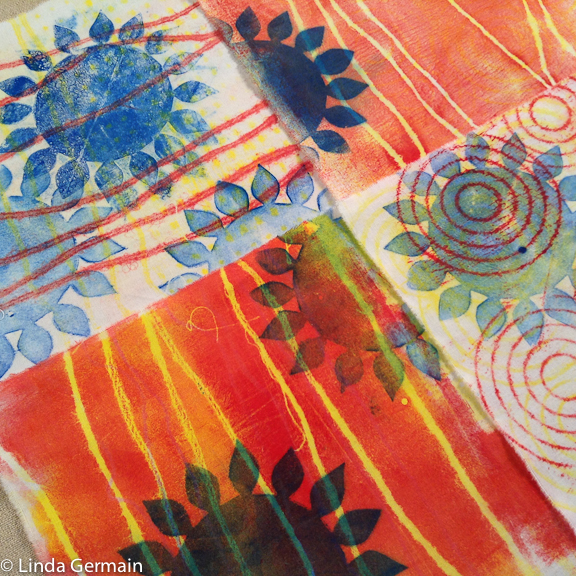
When I got to the stage above, I still wanted more and I wanted to quiet down the colors. Sometimes layering can dull down colors that are too bright.
I added a new shaped element and the blue layer. I had 2 stencils the “hole stencil and the masking stencil. Unpredictable marks happened and I was able to do a quick wash out of some of the squares.
But I realized I needed to let go of my original plan and go with the flow.
So I am not done yet. I think I might piece some of the squares together for the pillow top and then see if some stitching could unify the squares.
If you would like to explore monoprinting fabric with the gelatin plate, then read the details on the printmaking workshop page and join us today.
Printmaking Class starts Jan 9th
Artists are loving the course
Gelatin Printing on Fabric Loved it! 3 key approaches I have learned
- bubbles/imperfections in the gelatine plate can be a good thing – it does NOT have to be perfectly smooth,
- doing a brayer rubbings on a piece of fabric and
- finally being able to get a coordinated set of prints.
Thank you everyone in the class for your comments and adding to the learning process. Erin J. from Australia
Monoprinting Fabric has been a wonderful class…so well presented.
I have thoroughly enjoyed it!
from Candee L from the US
As a member of Monoprinting on Fabric you get:
- 4 weeks of video lessons every Monday thru Friday you will receive a private video
- 20+ short actionable videos to get you printing right away
- Personal support and feedback as you need from Linda Germain
- Anytime access to the classroom for 6 months after the course ends
- Ability to download any or all materials/videos for life long personal use
- Choice to be a member of the private Facebook group
Read the details and join us today! This is the only time this course will be offered in 2017.


