I have combined parts 2 and 3 into one class. Save some money and Enjoy!
If you want to start with part 1 then get the details here.
Gelatin Print Project – Part 2
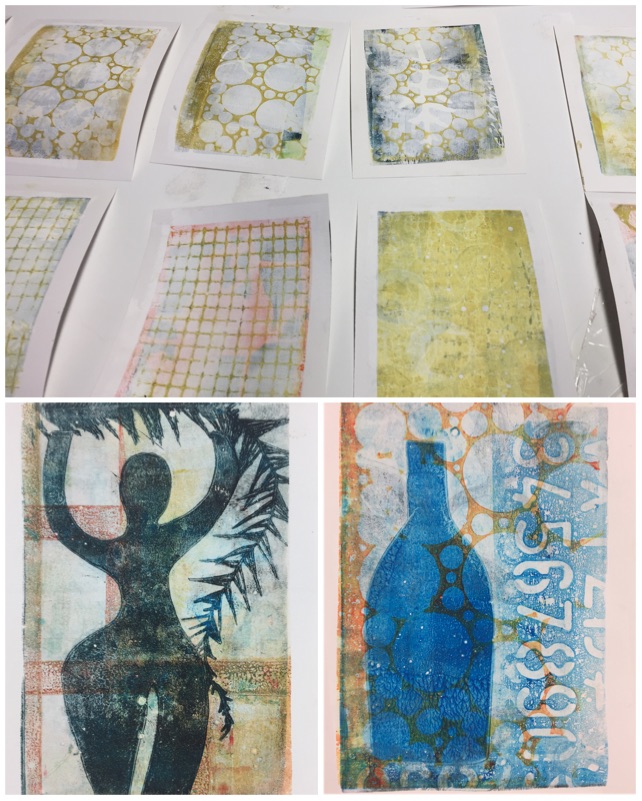
In part 2 we will reclaim “failed” prints, develop rich layers, cut more stencils and create completed prints. Layers and examples in these prints below.
This is the lesson breakdown:
- Roll over and reclaim ugly prints. Create a richly layered surface for this next round of prints.
- Folded Stencils – Explore simple folded patterns to make delicate stencils
- Add a delicate mark to complete. Some prints will need a little something to complete. Take advantage of the malleability of the plate and found stamping tools to add delicate details.
- Add a focus to roll over print – Magic of multiple layers comes to life.
please check out the FAQ’s page
the supplies page here
Gelatin Print Project – Part 3
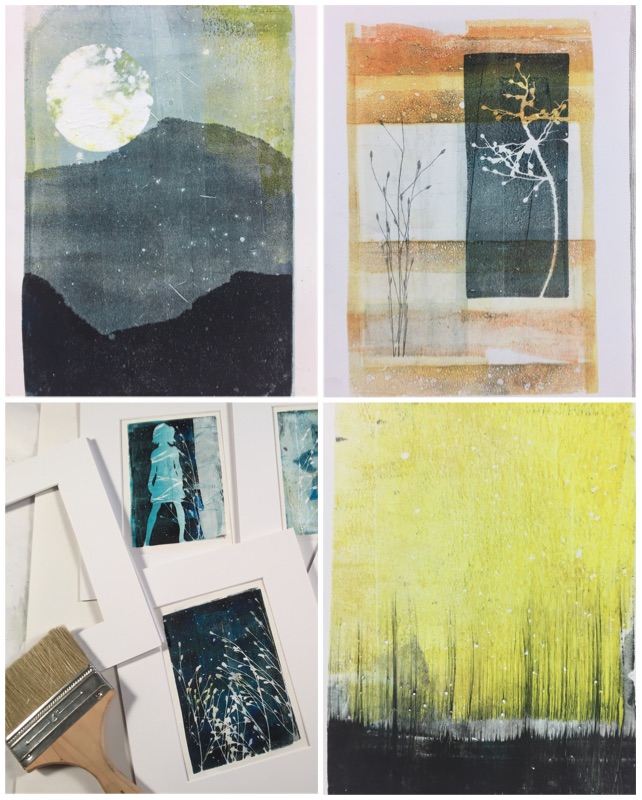
In part 3, we will explore 2 different ways to create abstract landscapes, try stencil within a stencil technique and the importance of saving white space.
This is the lesson breakdown:
- Create a brayered abstract landscape. Play with just brayer marks to make a completed print
- Torn paper landscape – consider simple torn paper stencils
- Stencil within a Stencil – Divide up the space and define edges with multiple stencils.
- Claim some white space – Increase the range of value and create white space with stencils.
- Clean Edges – often we want to finish and frame a print and need to remove stray ink marks.
Register Now
Combined parts 2 and 3 for only $80.00
Click Here to Pay $80
Course available now as self study
Use credit or debit card
You will be prompted to create your private student login
and then to make your payment.

