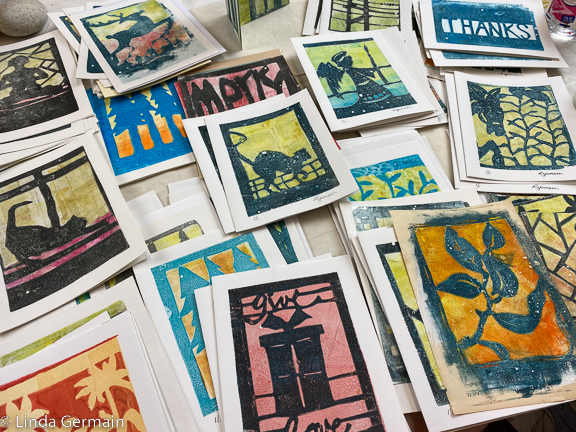
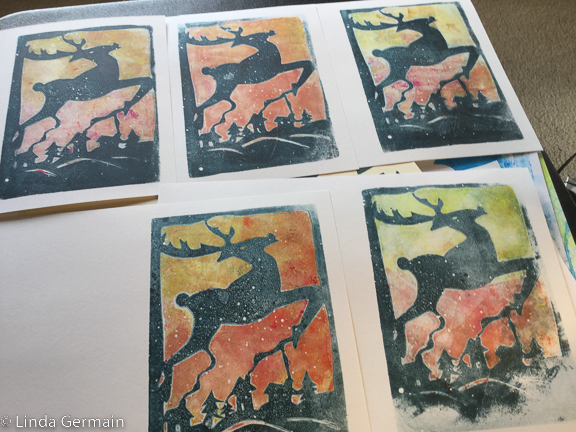
Gelatin Printmaking is a great process for making one of a kind cards for all occasions. The process is fast and very satisfying. My biggest challenge is inky fingers.
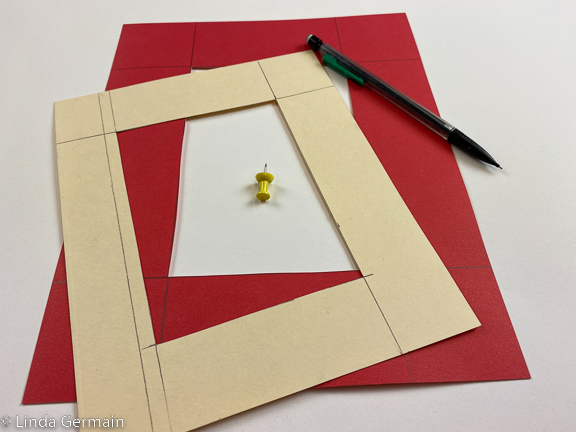
You can always cut and collage pieces of prints from you existing stash of prints. To do this I like to make a view finder and crop them down to size.
To find a pleasing composition:
- Hover over the print with the view finder looking for dynamic balance.
- When you find it pierce a tiny hole in the print at the inside corners of the view finder.
- Flip the print over and draw square cutting lines between the tiny holes
- Cut the print to size
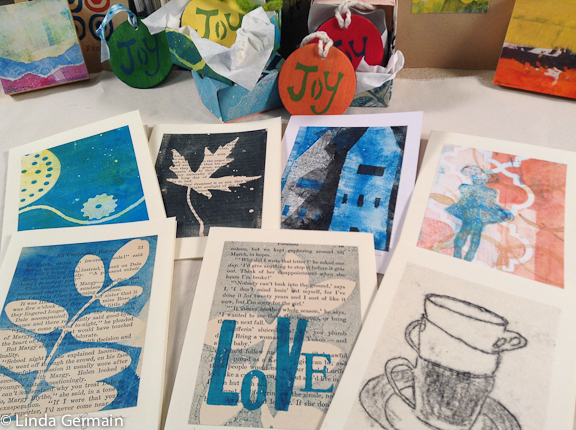
I did the crop, cut and collage approach with the cards in the image above. You do have to take care to make things square and cut straight line.
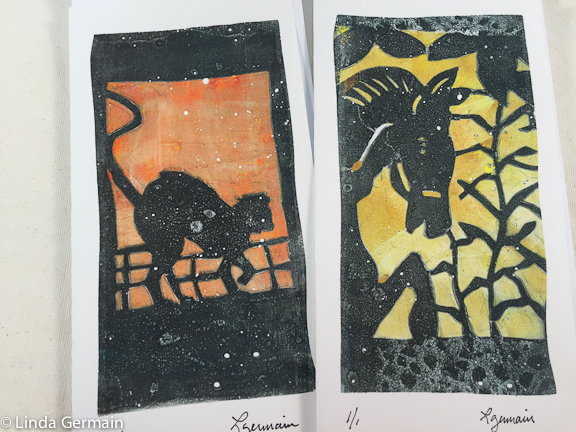
Another approach to card making is to print your original image in the folded card format. This is a good way to go about it if you want to make a lot of cards with a similar design. I used this method in the cards below.
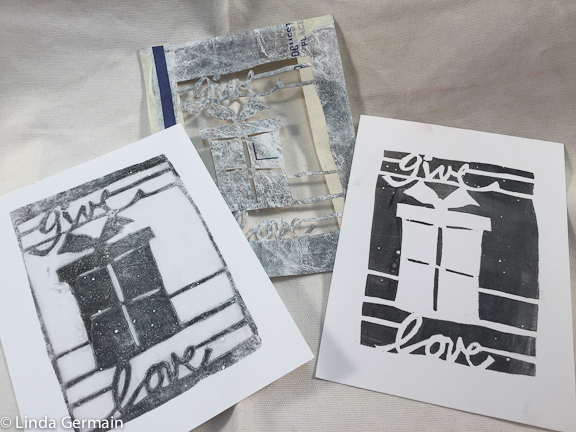
I use a very strong Tyvek® stencil, water based ink and the homemade gelatin plate. This allows me to make a series of cards that are based on the same image, but all a little bit different. This makes the process more freeing and creative.
You can get two types of impressions from the one stencil. The first print is the one on the right below. I is solid black with the white of the paper showing where the stencil blocked the transfer of ink.
The second impression is the one that I really like. It is the print on the left. I call it the detailed impression, because it captures the details under the stencil.
This detailed impression can be unpredictable and challenging to capture. The ink needs to stay alive and stick to the plate rather than the stencil.
If you want to cut some nice strong stencils and pull a pile of hand printed cards, then check out the details of the upcoming online class, Hand Printed Cards + the gelatin plate.
hand printed cards online workshop with Linda Germain from Linda Germain on Vimeo.
