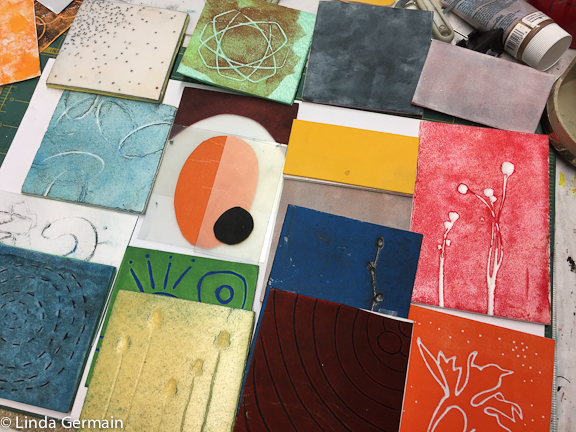
I like printing more than making printing plate. Often carving a relief plate takes lots of planning and time. That is why I like making soft foam relief plates. They are fast and can be spontaneous.
There are just a couple of key tools that you need to get started with soft foam relief plate printing foam and mark making tools.
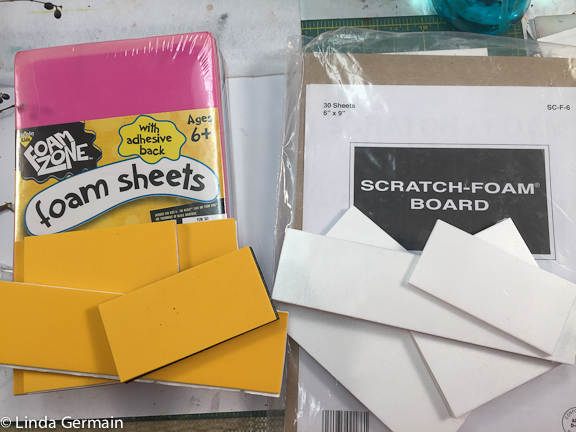
I like to recycle foam produce containers. But some folks cannot seem to find them, so 2 good alternatives are sticky back foam and scratch foam board.
You can find sticky back foam sheets at craft stores and the scratch foam board at art supply stores. Each type of foam has a different kind of mark.
The sticky back foam is often nice and smooth and will make a smoother impression than the recycled foam trays. And the scratch foam is in between those two.
The different foam hold the line drawings differently too.
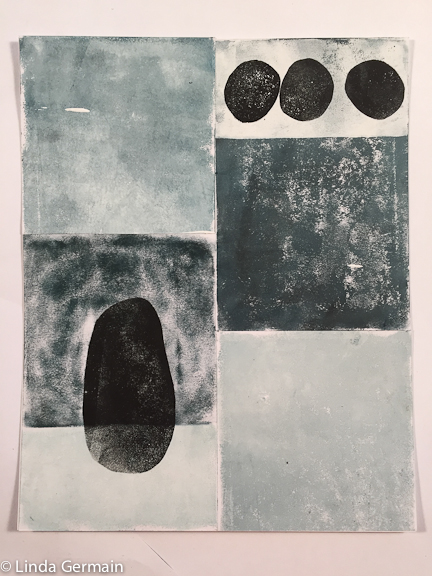
I like using the sticky back foam to make simple abstract prints like the one above. I have learned to appreciate the kind of mark that naturally occurs with these plates. I embrace the mottled uneven impression.
I like to combine the best qualities of the tools to make monotype prints with several different blocks.
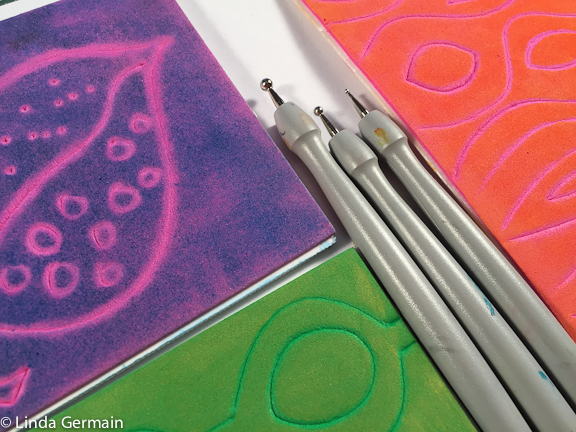
The newest tool that I have come to love is the embossing stylus. I got a set of 3 for around $10.00 and I love how they impress a line into the different foams.
The ball tip rolls across the surface and creates a nice consistent line.
I think that one of the things that makes soft foam relief printing interesting is to vary the line type and quality. So I like to use lots of tools to make that happen.
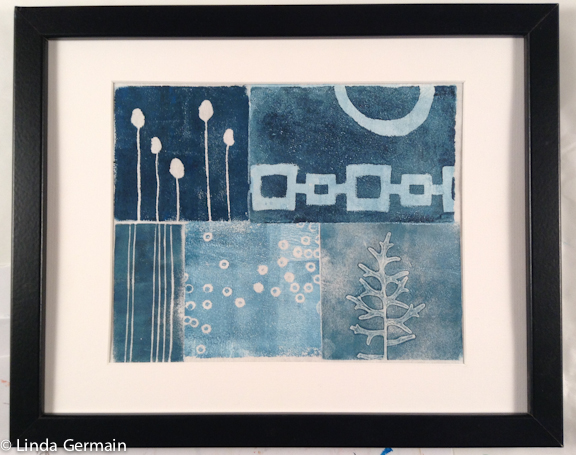
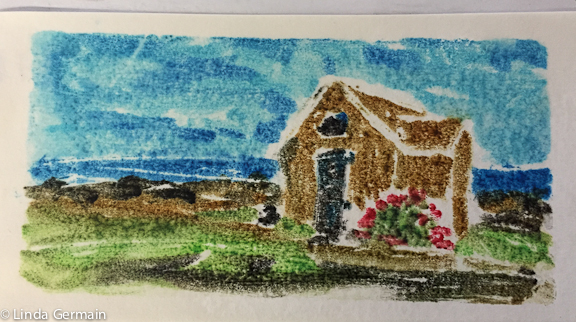
You can use water color to make colorful white line images.
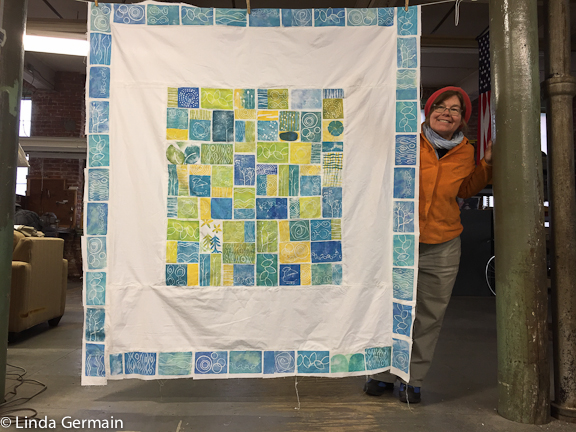
And you can print on fabric too!
You can join the online printmaking workshop, Soft Plate Relief Printing. Read all the details on the workshop page.
