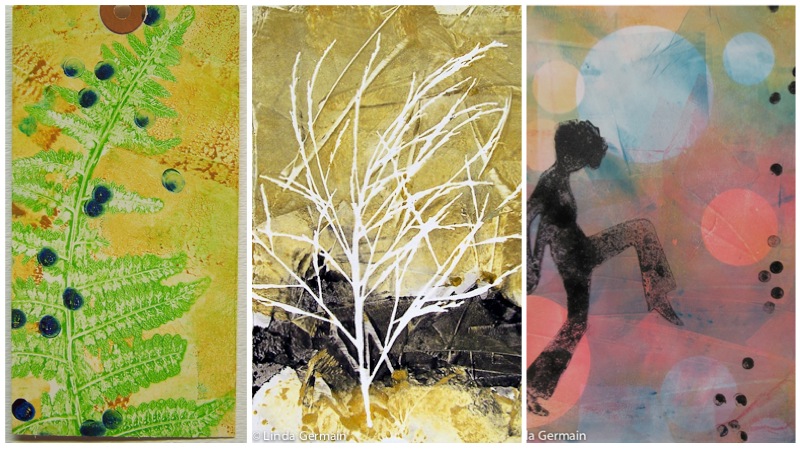
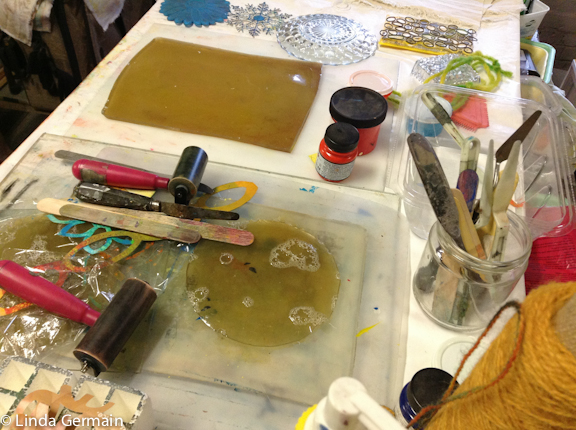
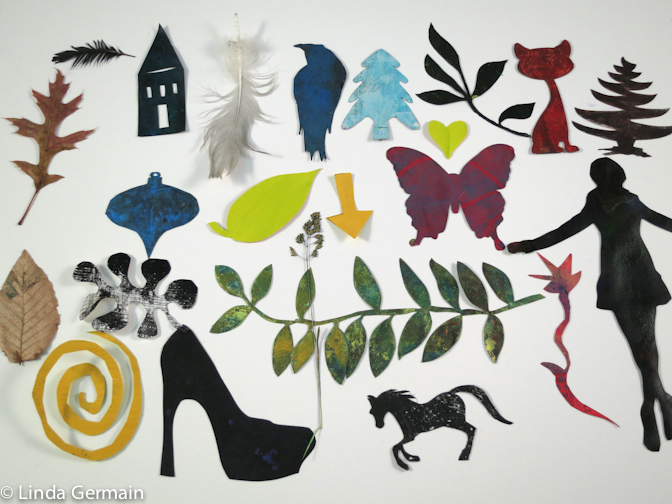
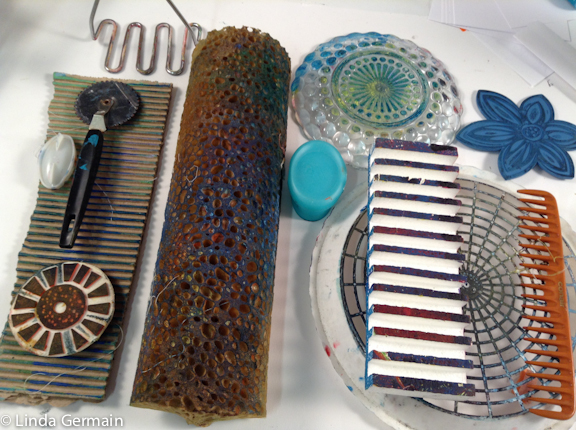
The Gelatin Printmaking Workshop is available as a self-study right now!
As a member of Gelatin Printmaking Workshop you get:
- 15 lessons and online instruction
- How to make and maintain the printing plate
- How to make and find tools
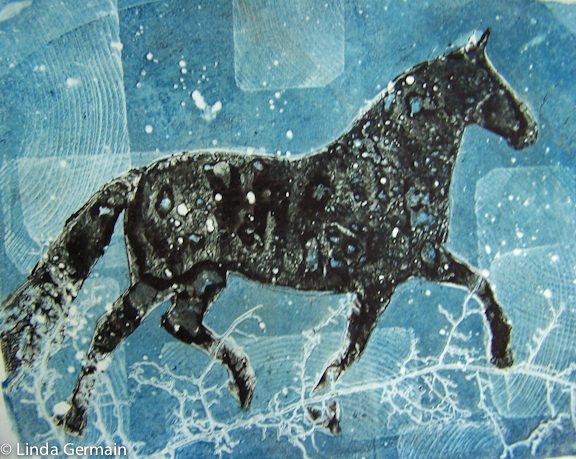
- How to use those tools to make one of a kind prints
- There are 30+ short, actionable videos
- Forever access to the course materials
Want to see what other artists have done? Check out some student prints.
Ready to start printing today?
Click below and start having fun!
This course is non-refundable once you have purchased and received access to the course materials.
One Student shares:
Just wanted to let you know how valuable I’m finding the course.
Frankly, learning how to correctly load a brayer as well as the motion you use on the plate without raising the brayer would along be worth the price of the course :).
Although I’d already been using lots of stencils as well as stamping and texture tools, going lesson by lesson has “forced” me to slow down and better understand the results I'm getting. Similarly, working in two or three colors only is helping me to better understand layering.
I’ve still many lessons to go, but I wanted to say thank you.
Regards,
Karen L.
The Lessons – Gelatin Printmaking Class
Lessons 1 – 3 Jump in and make the printing plate with glycerin, gelatin and water. Set up your printing space, gather supplies and tools and make piles of prints on paper. Do some yoga printmaking. Learn the basic terms that we will use throughout the course and start printing.
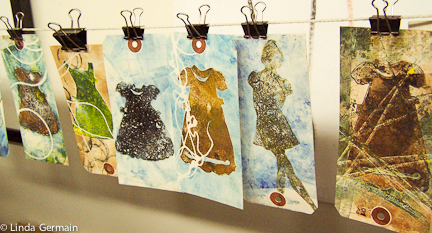
Lessons 4 – 6 Get to know all about masking stencils. – Begin with found materials. Start to identify your visual language, make paper masks to personalize your prints. Learn to love the detailed impression.
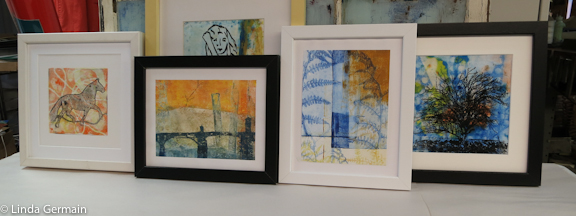
Lessons 7 – 8 Texture – Explore mark-making tools that are used to lift off or apply ink to the plate. The inspired by your surroundings and make several tools of your own. Be inspired to mat and frame a detailed impression print that is a distinct expression of your visual language.
Lessons 9 – 11 Combine and Control – After much experimentation you will have developed a visual language of your own. You will have key marks and images that are just yours. In these lessons take those prints and images to a more finished monotype print.
Lessons 12 -14 Papers and Possibilities – Consider the substrates and surfaces that you are printing on. Is there something else that you would like to print on? Let’s examine edges, layers and registration options. What about books? 3-D sculpture? What inspires you?
Lessons 15 – 16 Combine – Complete – Continue – You will have piles of prints by now and your printing plate may be changing as well. We will learn about refreshing and restoring the plate. We will make decisions about finishing prints and make a plan for continuing the series of monotype prints. Use a cropping tool to create more powerful images. Identify your signature style for the moment. Make a commitment to your continued growth and success.
Want the confidence, skills and info
to make beautiful prints?
Ready to start printing today?
- Check out the supply list
- Read FAQ’s
- This course is non-refundable once you have purchased and received access to the course materials.
Here’s what some students are saying about printing classes with Linda Germain:
I am delighted at how well organized the class is and how much I am learning. Linda, you are a wonderful teacher. THANKS. Each lesson is well thought out, and the videos are easy to understand. I truly appreciate your interest in each student’s development. It has been absolutely perfect, and I am so grateful that you offered this class online. I hope you offer an advanced class sometime soon!
Elenor Martin Austria – Make Monotypes
I’ve been enjoying the course. Really impressed with your video presentations and the lucid instruction. Brava!
Margery Jennings, Make Monotypes
I bought Nancy Marculewicz’s Gelatin Printmaking book in 2006, but I was not sure how certain effects were obtained. Now, I know how to create the effects and results that I want. Before, my gelplate dried out too fast. The glycerin and gelatin recipe is much stronger and longer lasting. I have already told people how amazing this course is (was) and that you are the most wonderful teacher. I was impressed with your involvement. I expected one lesson a week and was surprised by the 5 short lessons a week. I could better absorb all the information and practice everything.
After class ended I bought the commercial gel plate. I was surprised that I like how the homemade plate works better. Still printing and exploring the process.
Sanet Richter – S. Africa – Make Monotypes
Gelatin Printmaking Workshop is based on 8 years of experimentation with gelatin printmaking.
I created this course to share with you the tricks and techniques that I have learned about printing with the gelatin plate.
I want to guide you in your own printmaking journey. I want you to love this unpredictable process, as much as I do.
Artists from the US, Canada, Australia, UK, and 15 other countries have developed their printmaking skills through online printmaking class.
Ready to start printing today?
This course is non-refundable once you have purchased and received access to the course materials.
